

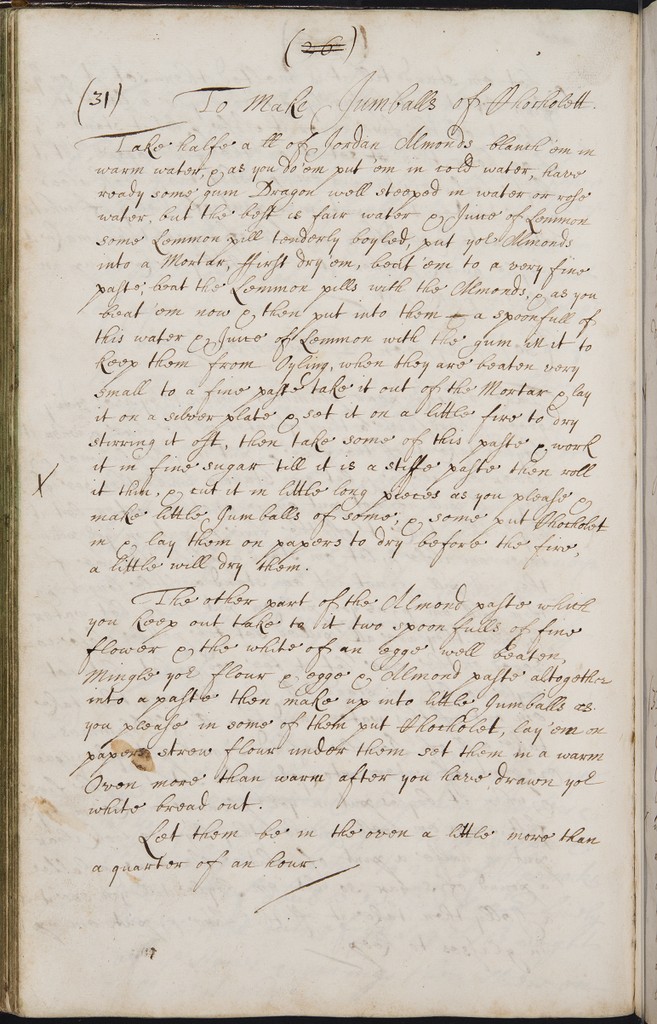
It’s always a thrill when I find a new chocolate recipe to test. A few weeks ago, a student brought a recipe “To Make Jaculat Milk” to my attention.
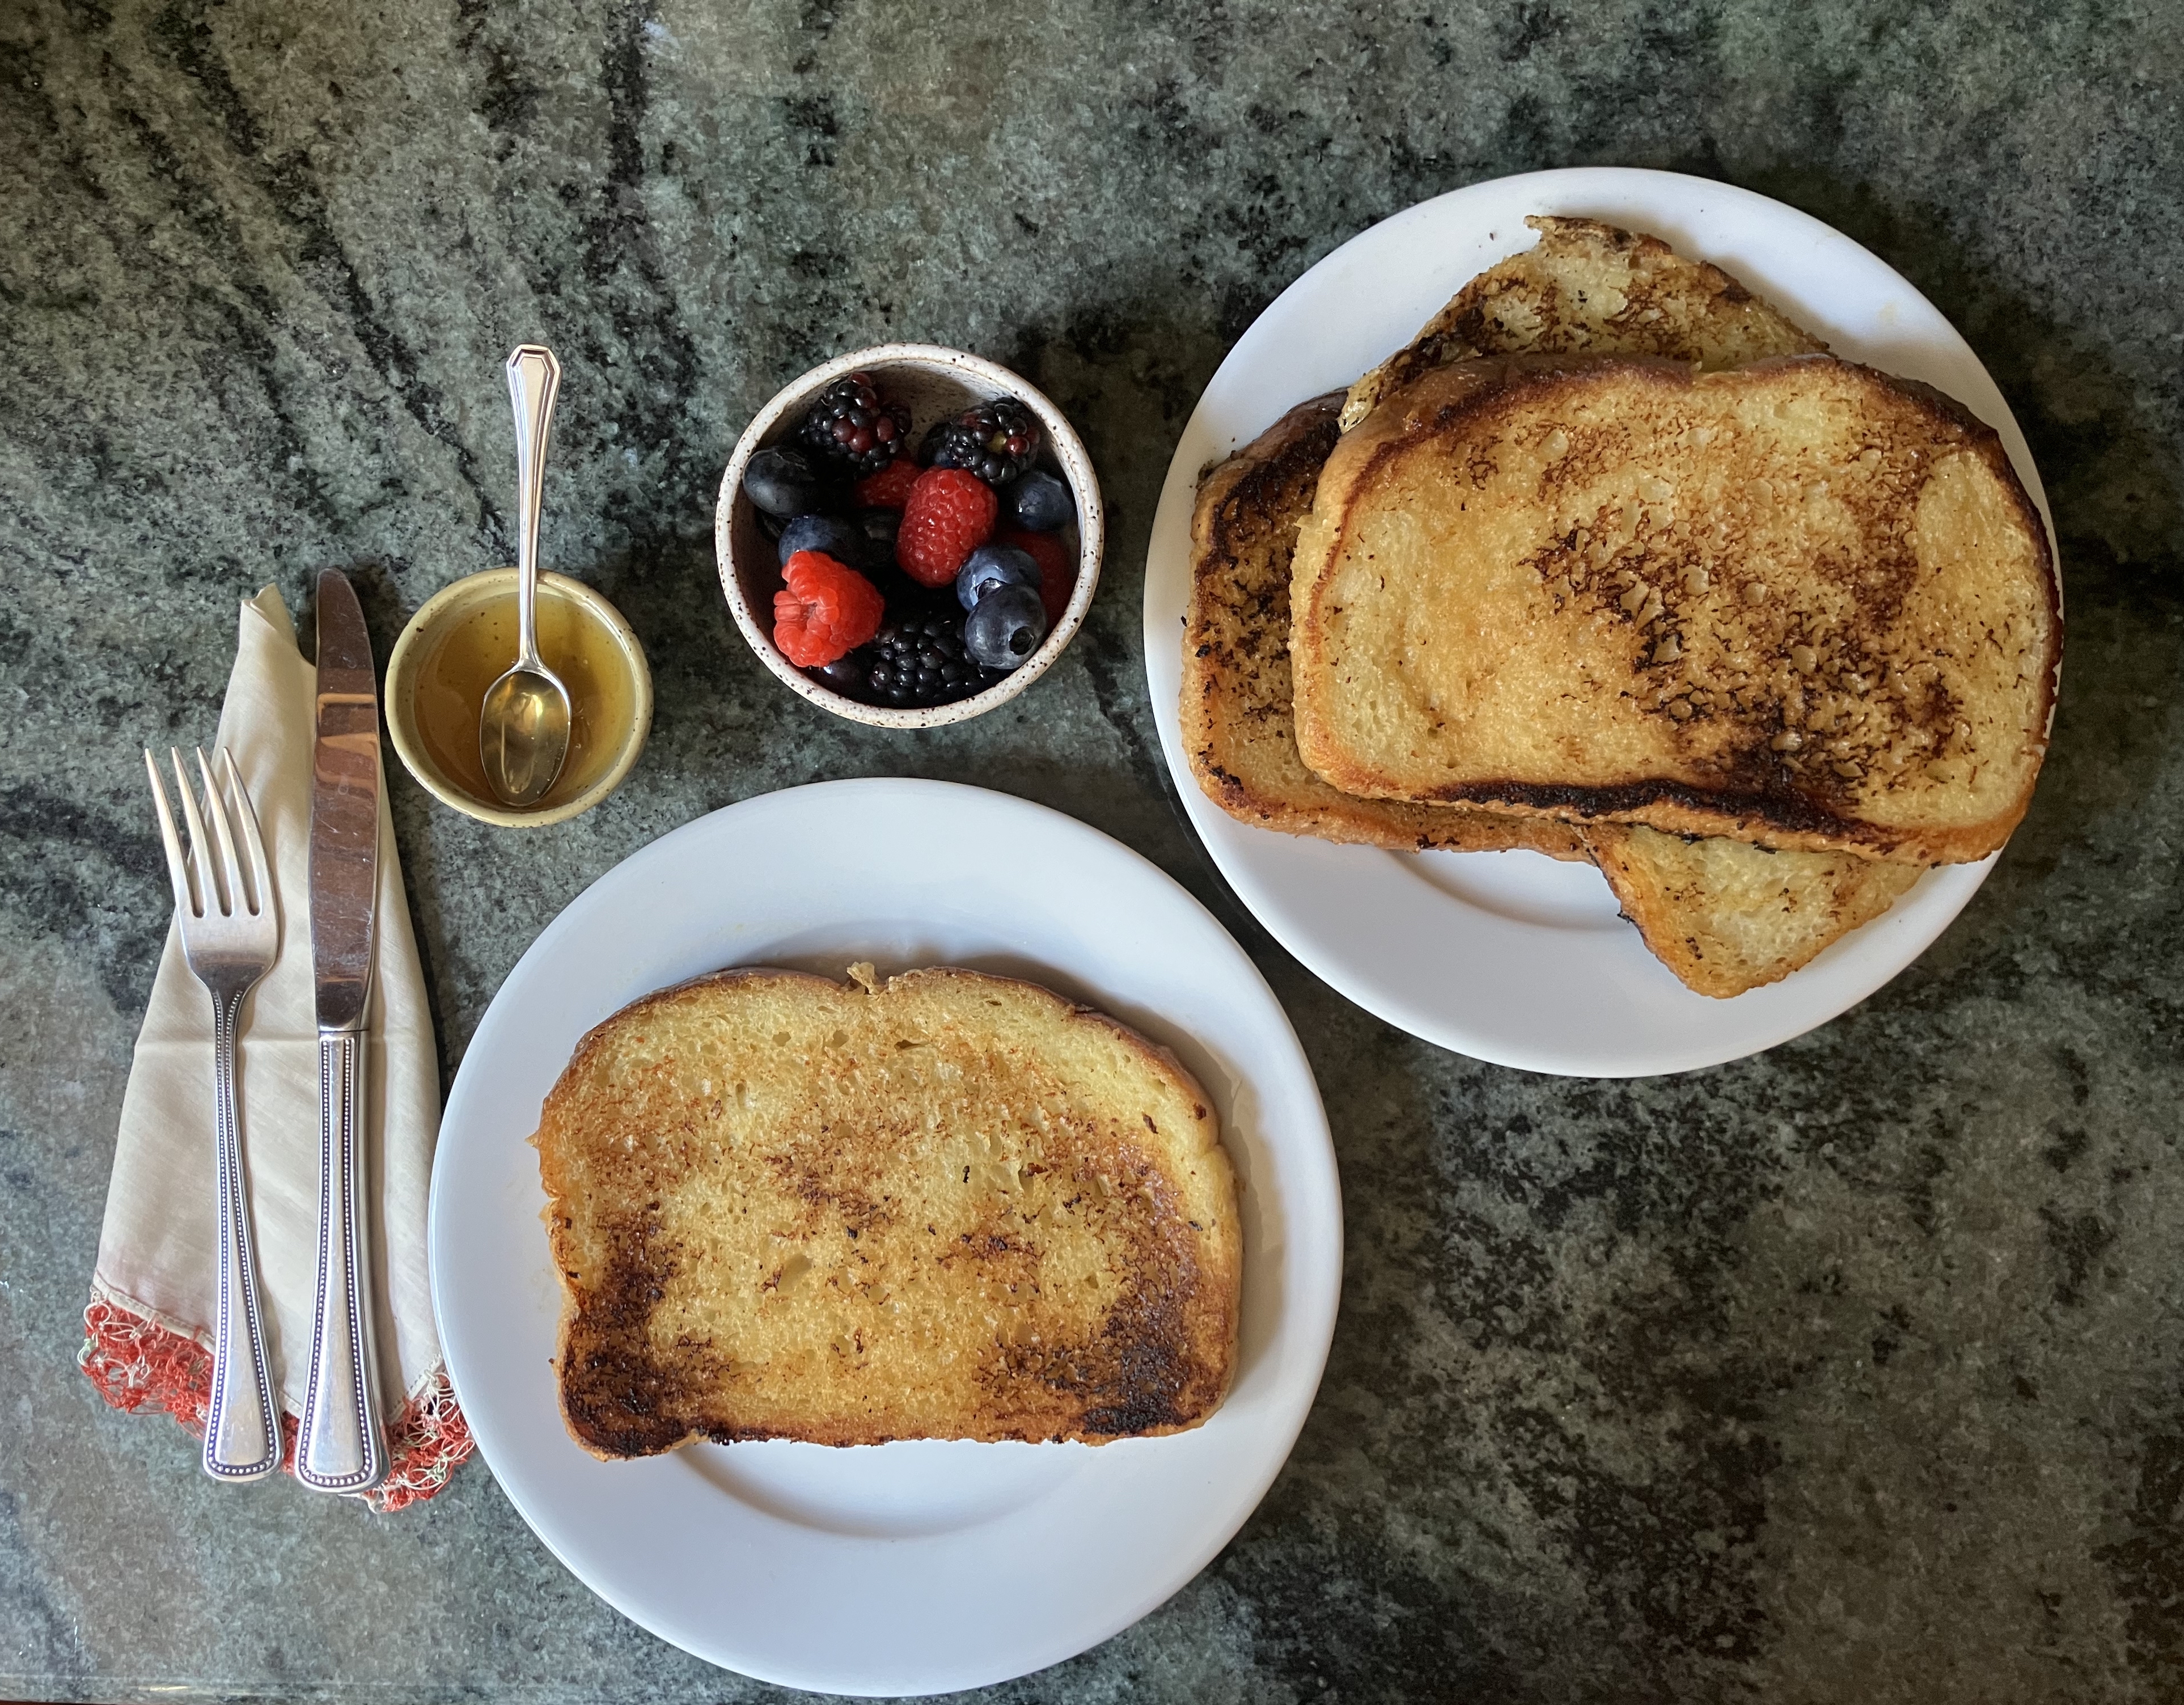
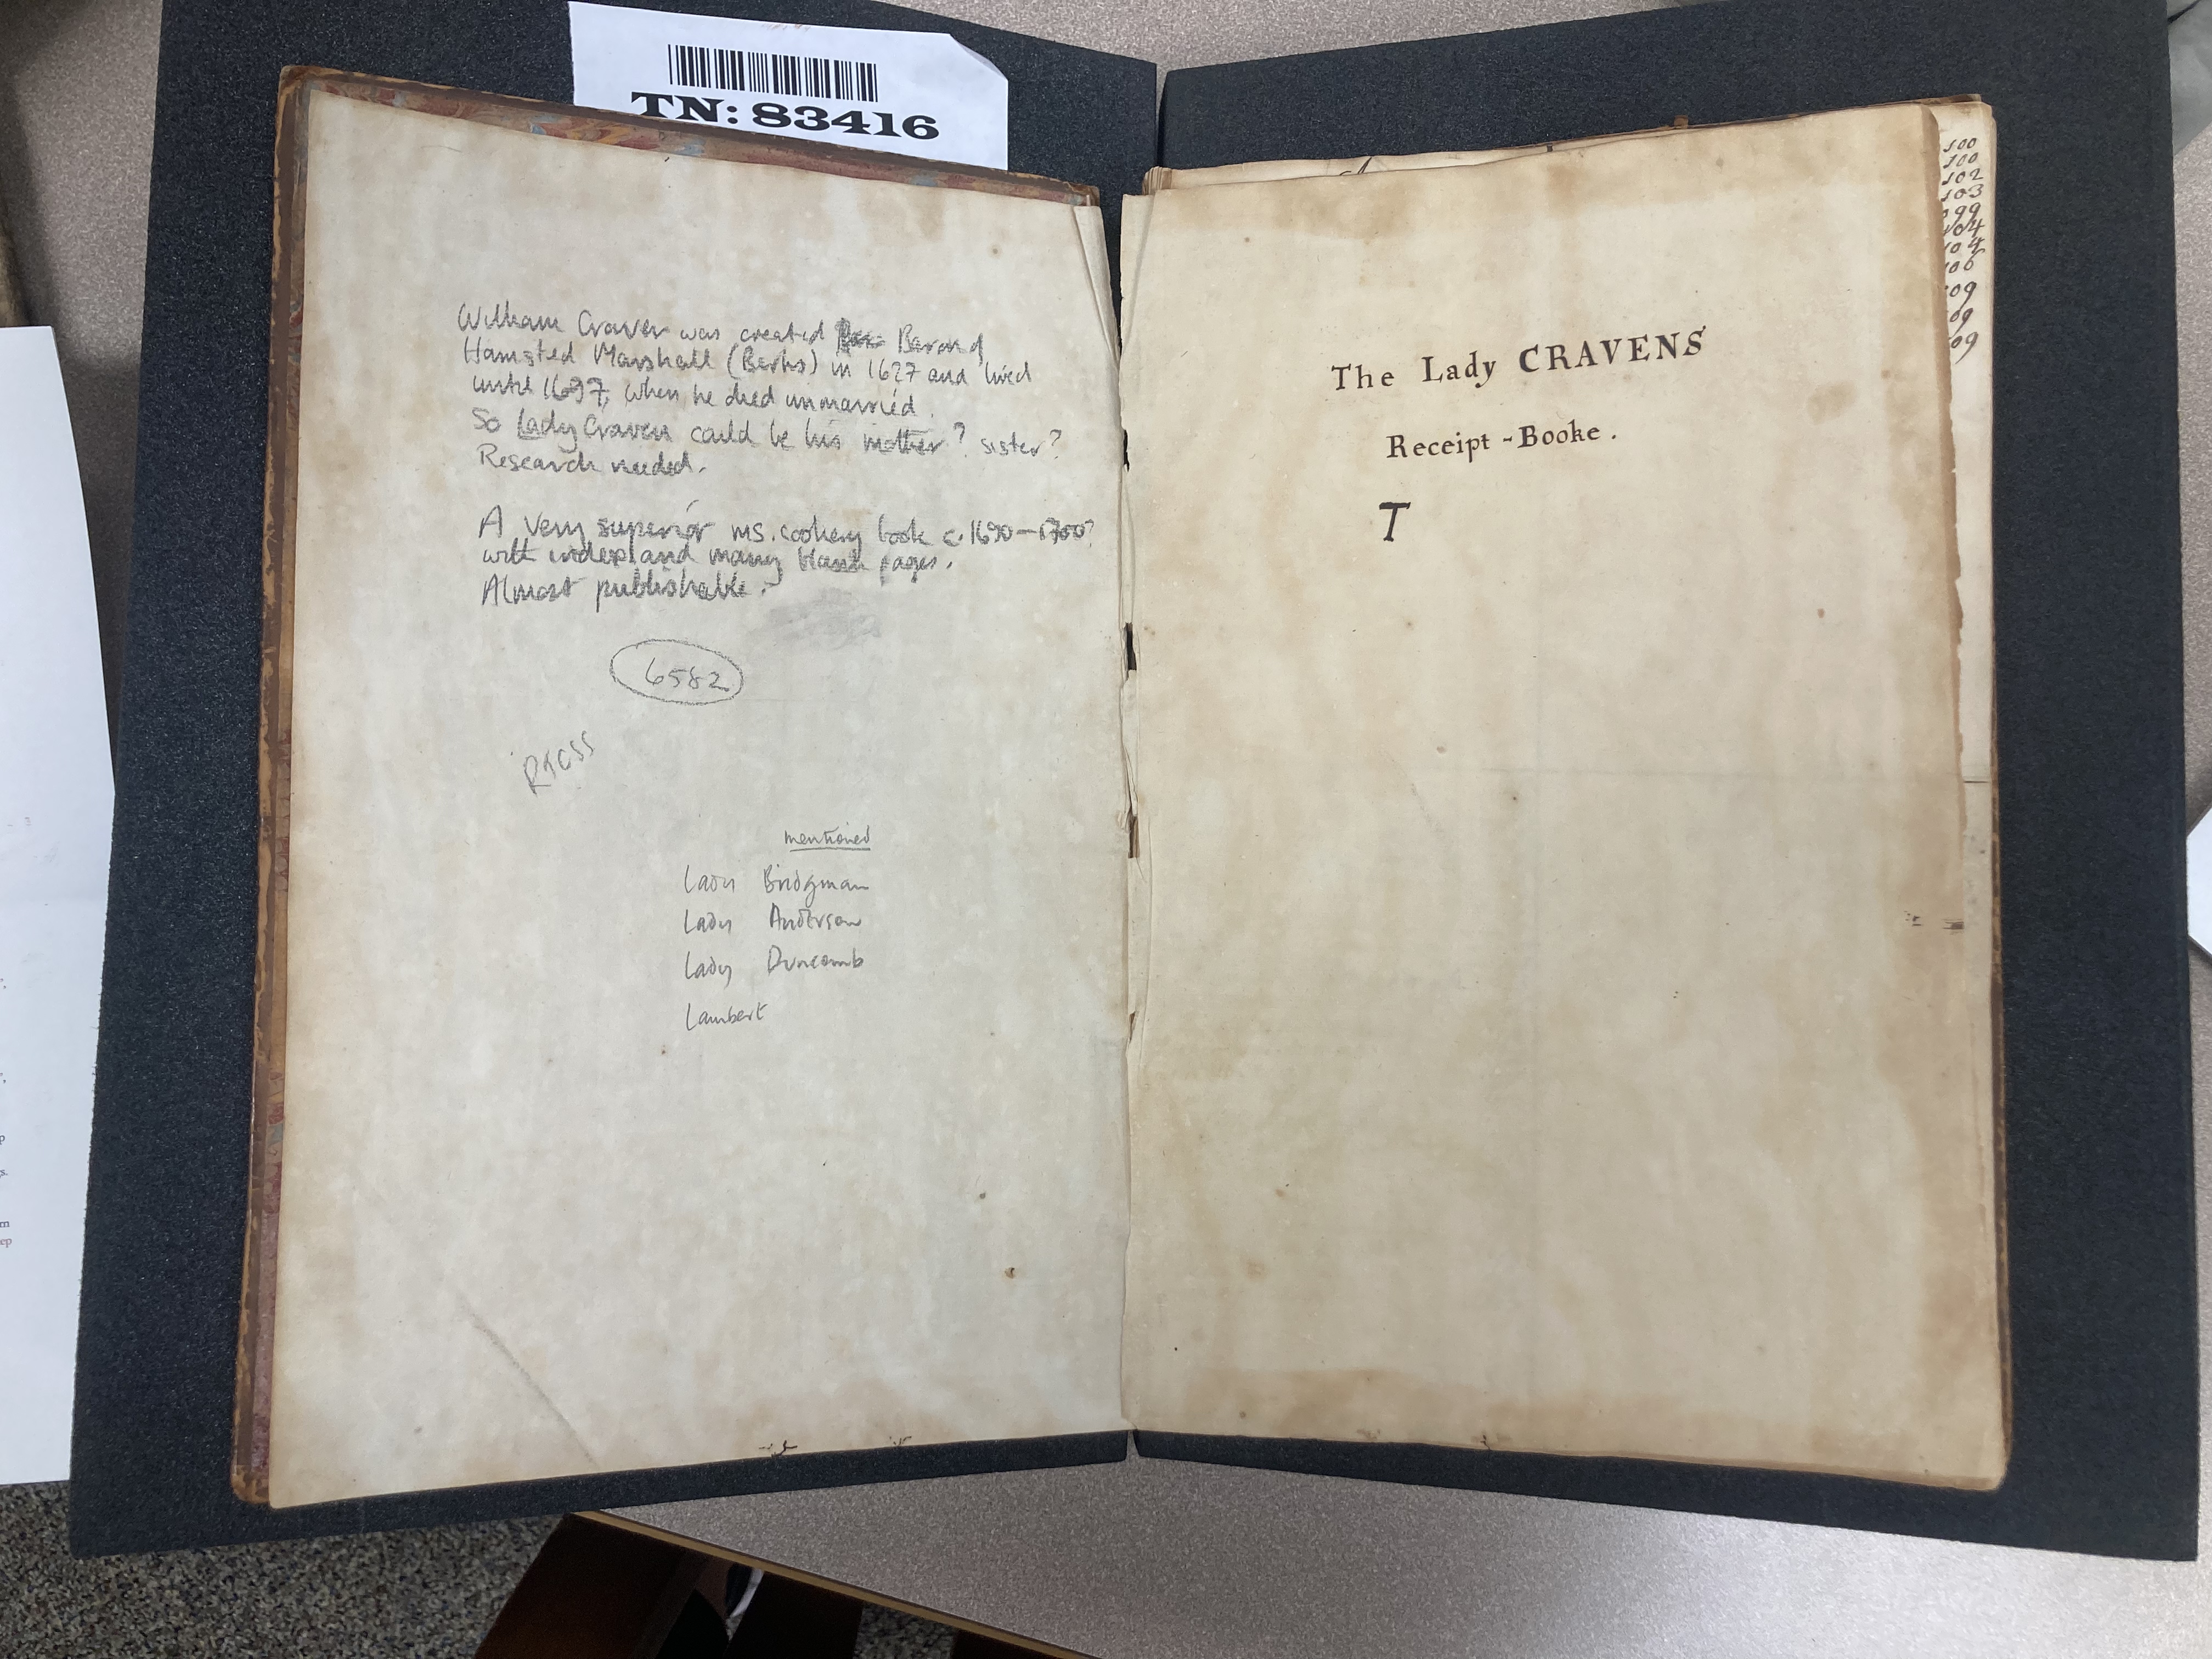
Over the course of this academic year, I’ve been teaching paleography, material texts studies, and the history of food and medicine using the collection of digitized historical recipe manuscripts collection at Penn State Libraries Eberly Family Special Collections. A good deal of our attention has been focused on “Mistress Anna Campbell her Paistrie Booke, 1707” a Scottish manuscript cookbook (that was also the source of some very tasty French toasts I tried out a little while back).
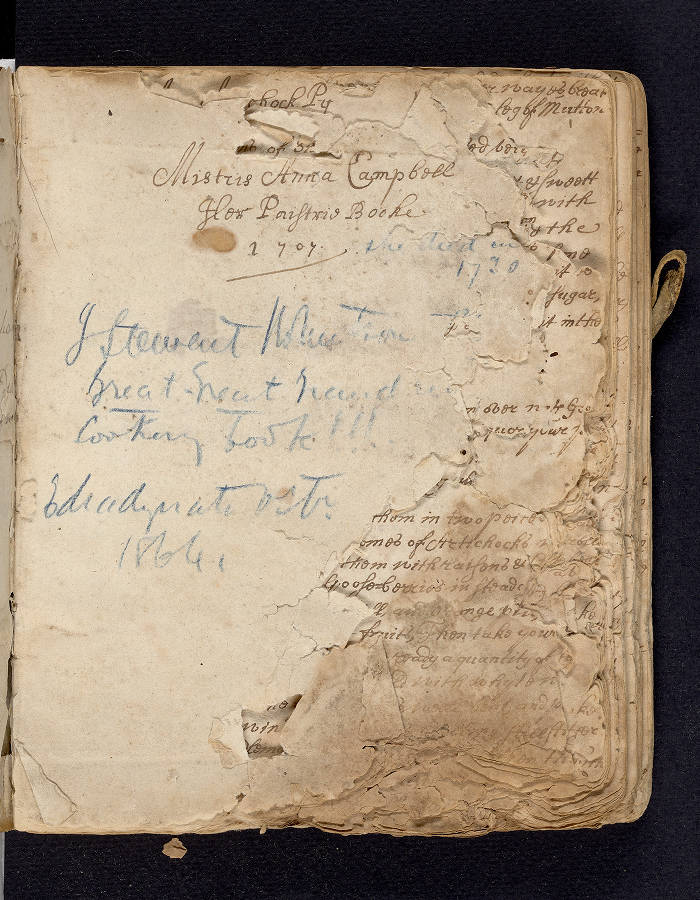
We begin each class meeting with transcription queries and a student raised their hand and asked what in the world JACULAT could be?! At first, I was also puzzled so I pulled up the Dictionary of the Scots Language. A quick search indicated that “Jacolate, Jaculat, Jecolat, n.” were all spellings of “chocolate” used in seventeenth and eighteenth-century Scotland. (Working with the Campbell manuscript, I find that we are searching the DSL as much as we are searching the Oxford English Dictionary!) In the recipe at hand “jaculat” could be added to a sugary coating for flavored almonds. But this was not the only use of chocolate in Anna Campbell’s pastry book! Another student’s transcription pointed me to a recipe “To Make Jaculat Milk” that I decided we should try out as a class.


The Original Recipe
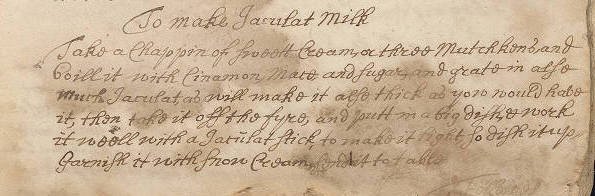
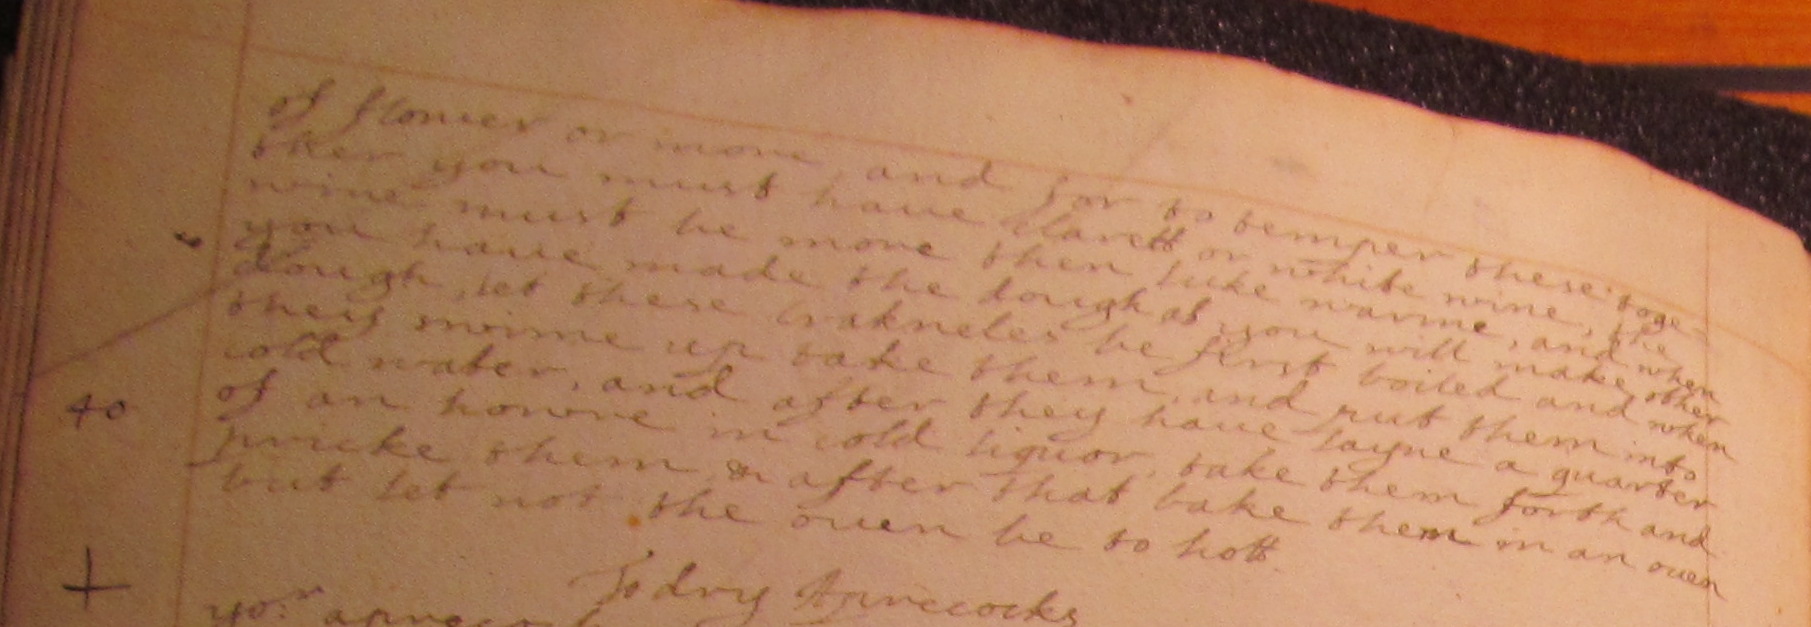
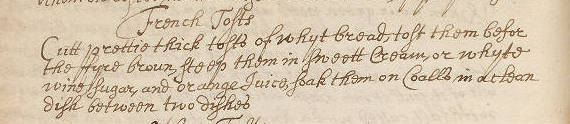
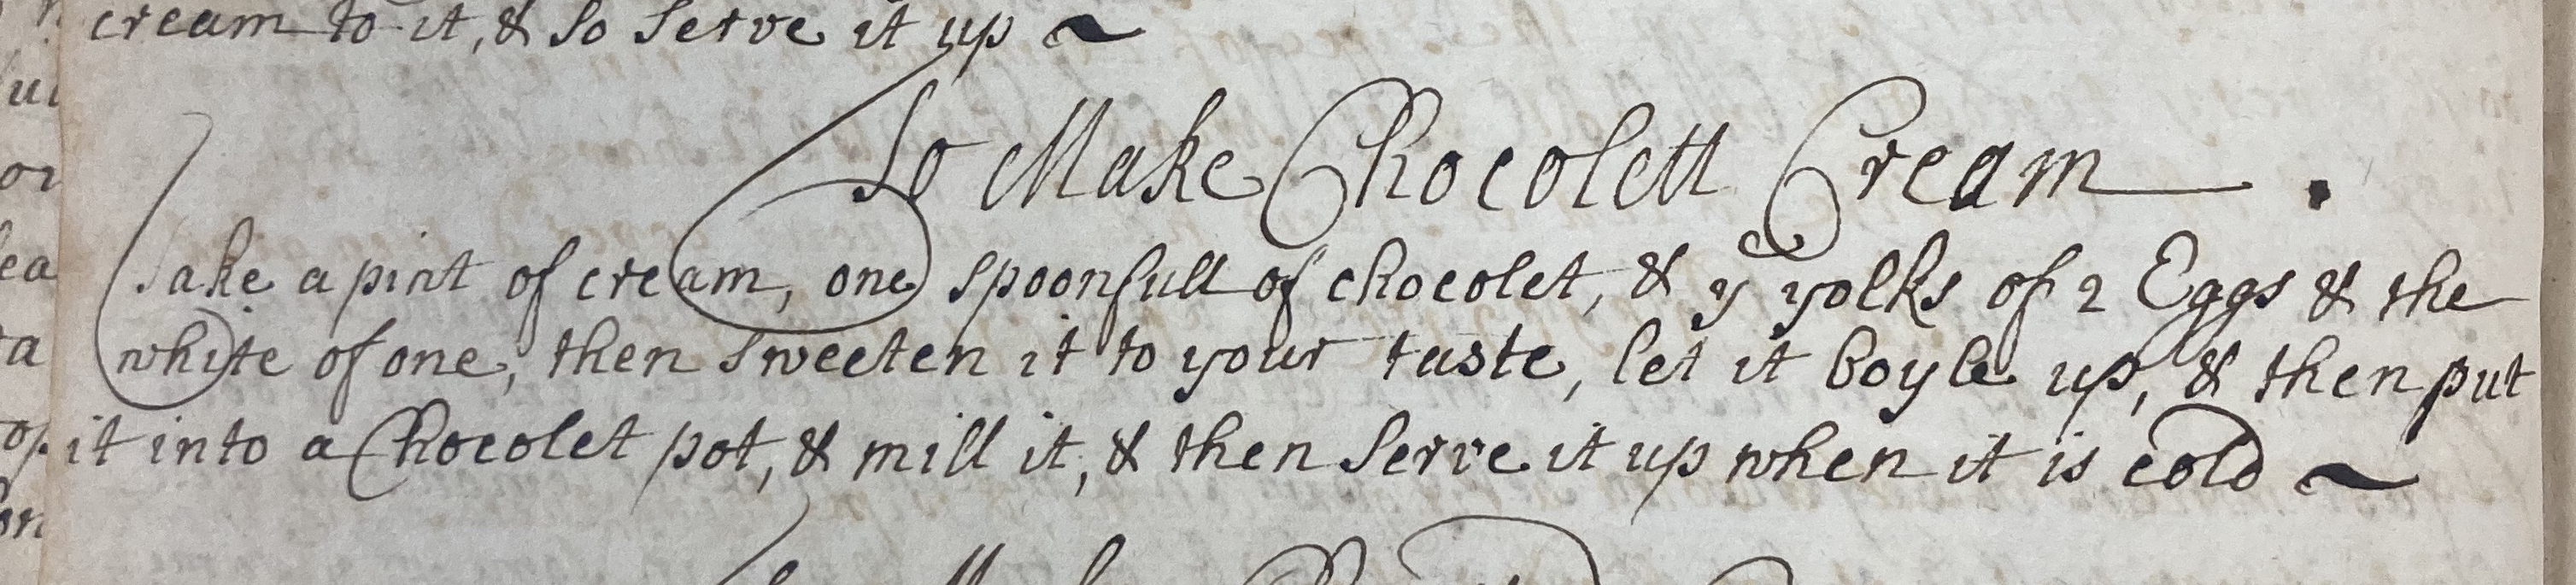
“To Make Jaculat Milk” Mistress Anna Campbell her paistrie booke, 1707: manuscript, Eberly Family Special Collections, Penn State University Libraries (Image 103)
To Make Jaculat Milk
Take a chappin of sweett cream, or three mutchkens, and
boill it with cinamon, mace, and sugar, and grate in also
much jaculat, as will make it also thick as yow would have
it, then take it off the fyre, and putt in a big dish, & work
it weell with a jaculat stick, to make it light, so dish it up
Garnish it with snow cream, send it to table
I have flavored hot chocolate with quite a few spices over the years, but never with mace, so I was especially excited to try this one. The method is also different from other recipes that I’ve prepared. First, you measure out milk or cream (using the Scots measurements of chappins or mutchkins) which I approximate at about 4.5 cups (US) using various metrics and bring it to a boil with cinnamon, mace, and sugar. Then you grate in the jaculat, which may be cocoa beans or a prepared cake of ground cocoa beans (perhaps with flavorings added like in this favorite chacolet recipe). The flavored milk is then frothed with a jaculat stick: a molinillo or hot chocolate whisk. This specialized tool, and the knowledge of how to use it, traveled with the flavorful cocoa bean from the Americas to Spain and then to England and Scotland. Finally, the “snow cream” garnish is a whipped cream flavored with sugar and rosewater as in this recipe I made many years ago.


Updated Recipe
1 quart whole milk (or your preferred milk)
2 Tablespoons ground cinnamon
1 Tablespoon ground mace
1 cup sugar
½ cup ground cocoa nibs
½ cup cocoa powder
optional, but recommended: whipped cream for serving (1 cup of heavy cream flavored with 1 Tablespoon rosewater and 1 Tablespoon sugar)
If you want to top your hot chocolate with flavored whipped cream, make that first! Using a large bowl and a hand mixer or a whisk, combine the heavy cream, sugar, and rosewater and beat until you have fluffy whipped cream.
Before you start heating the milk, grind the cocoa nibs in a spice grinder or food processor as finely as you can. They may begin to clump together and form an oily paste.
Pour the milk into a heavy pot. Add cinnamon, mace, and sugar. Bring to a boil to infuse and then lower the temperature. Stir in the cocoa nibs and cocoa powder and let the mixture return to a simmer.
Remove from the heat and whisk until the hot chocolate is nice and frothy. This should work with a regular whisk or a traditional hot chocolate whisk (molinillo).
Pour into a cup to serve. Dollop whipped cream on top if using. Sip and enjoy immediately.
*Notes*
You can prepare this recipe with whole cinnamon sticks and whole blade mace. You will want to let the whole spices and sugar simmer in the milk for longer. I tried this for about 5 minutes and the flavor did not match that of the ground spices so I would suggest trying 10 minutes. Remove the whole spices before frothing.
You can also prepare a large batch of the hot chocolate mix in advance by combining the cinnamon, mace, sugar, ground cocoa nibs, and cocoa powder. You can prepare one cup of hot chocolate at a time by adding approximately 3 Tablespoons of the mix for each cup of milk.


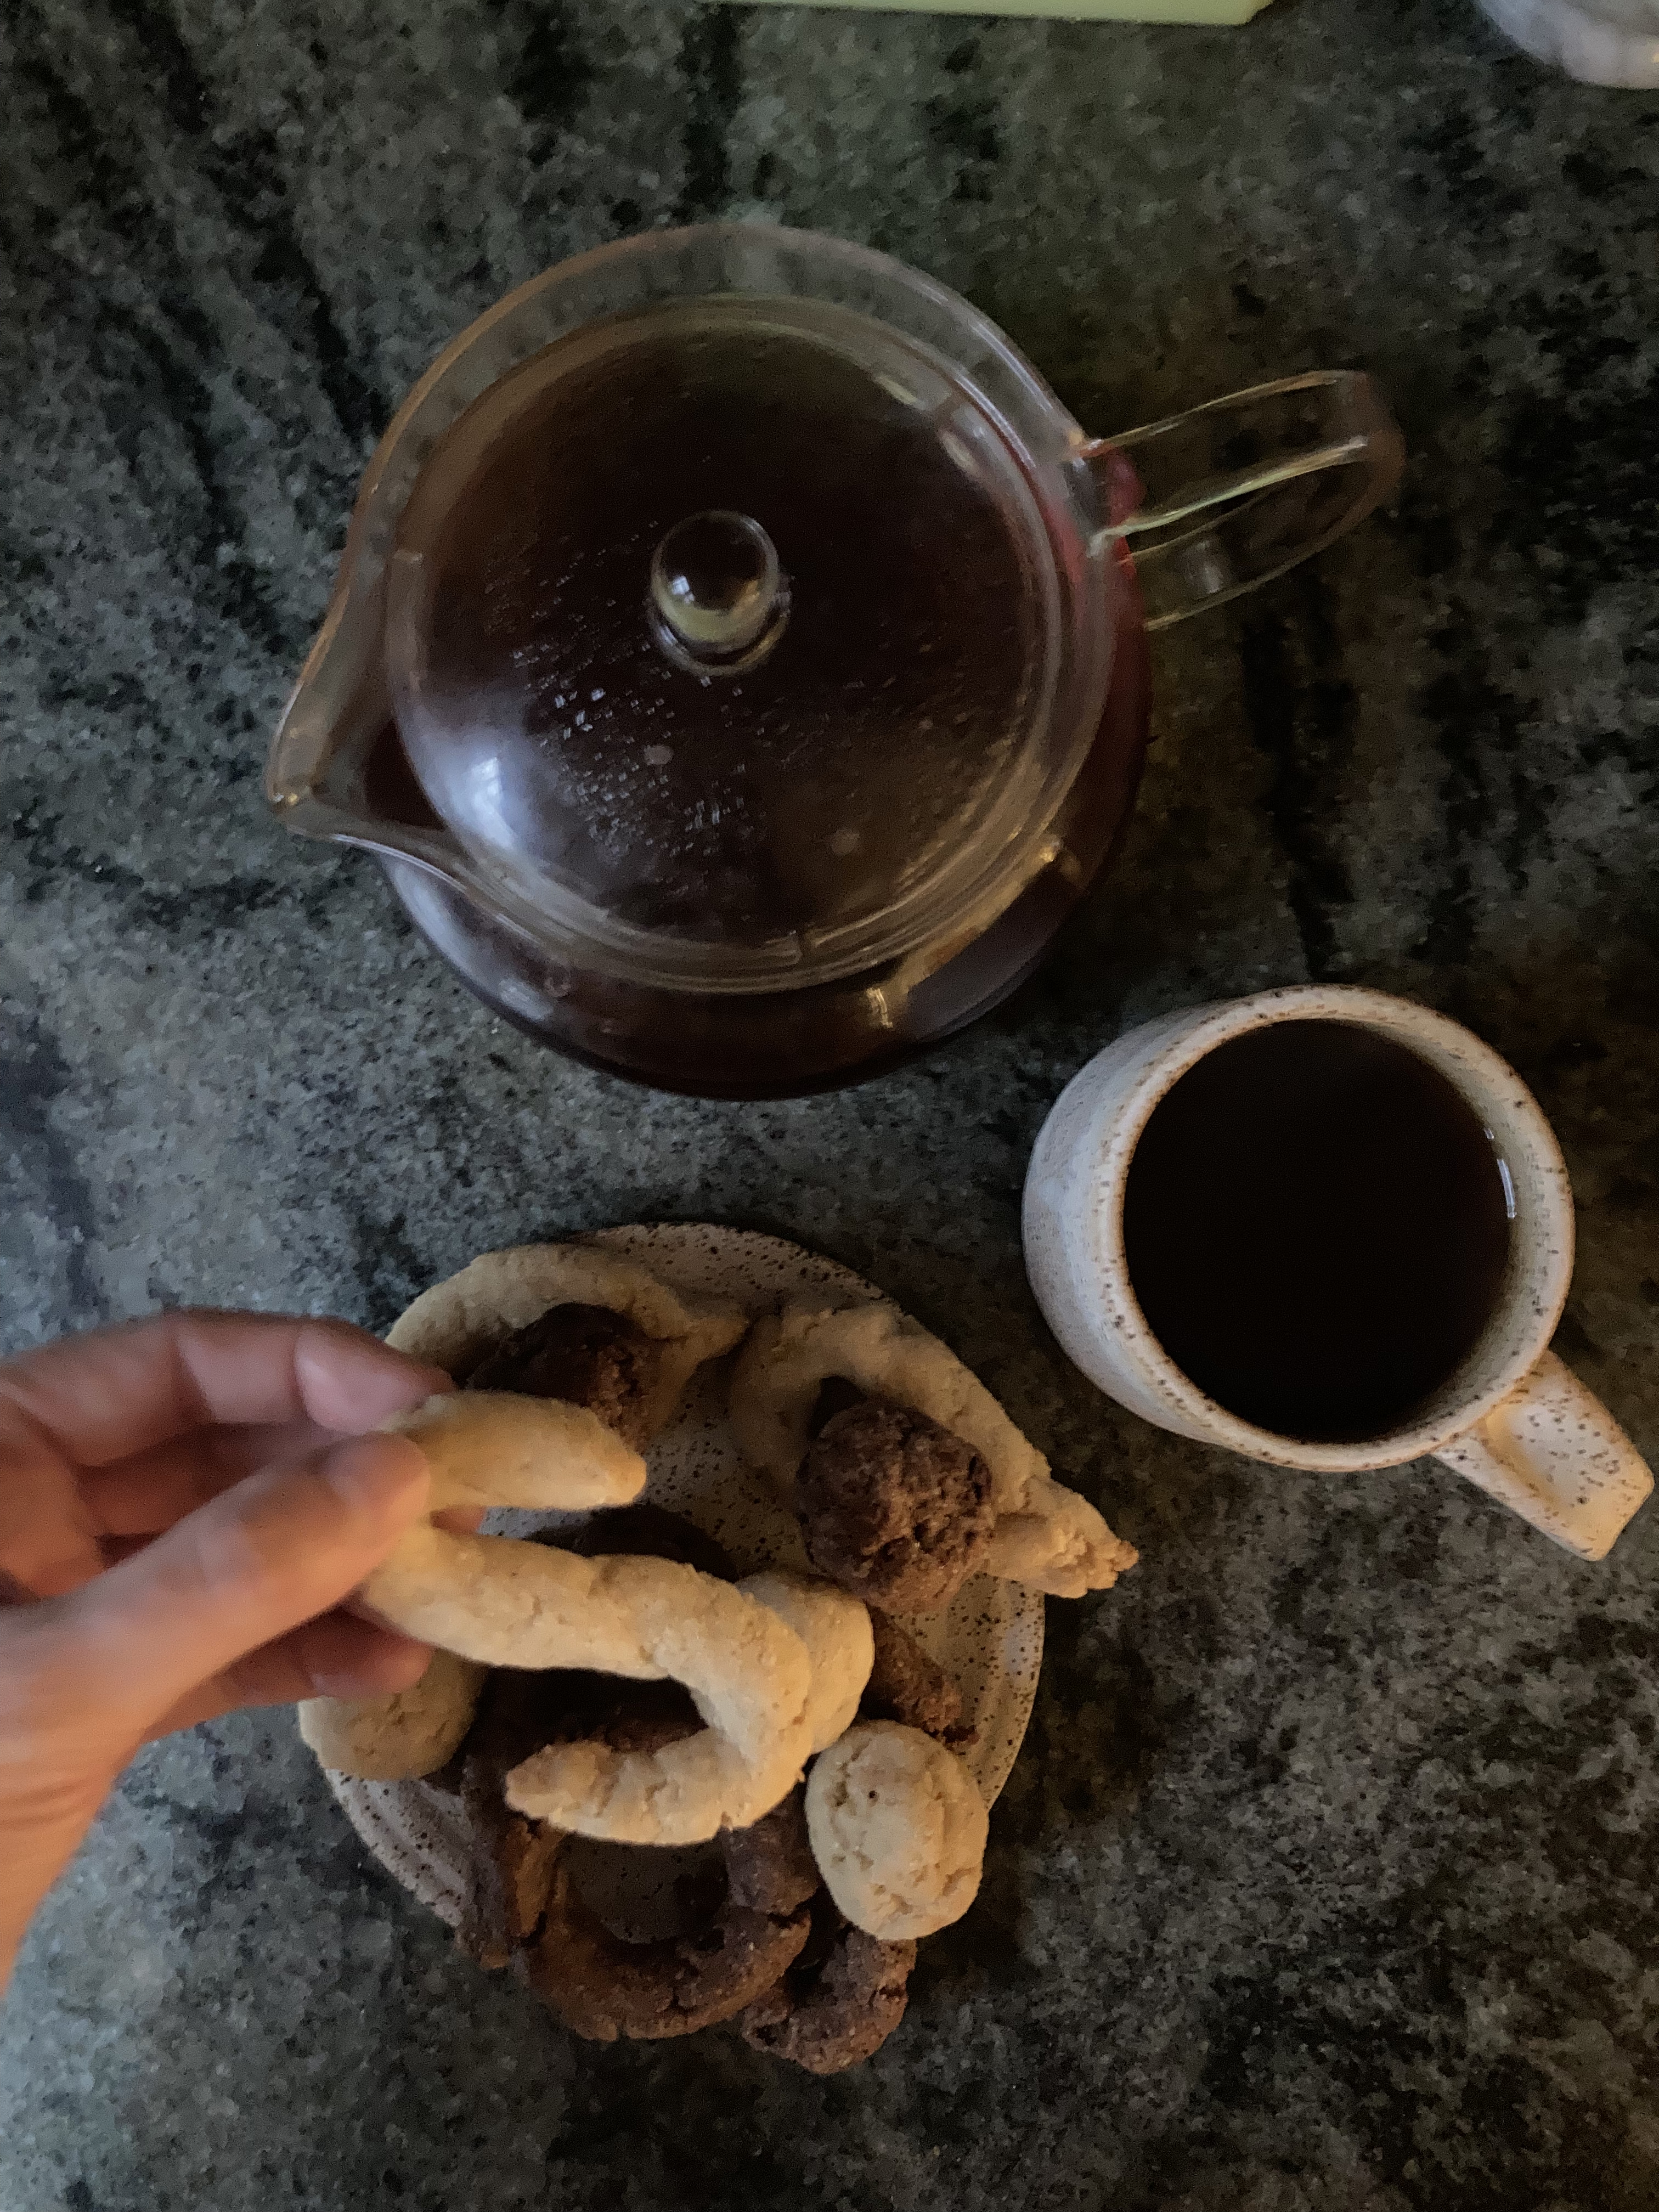
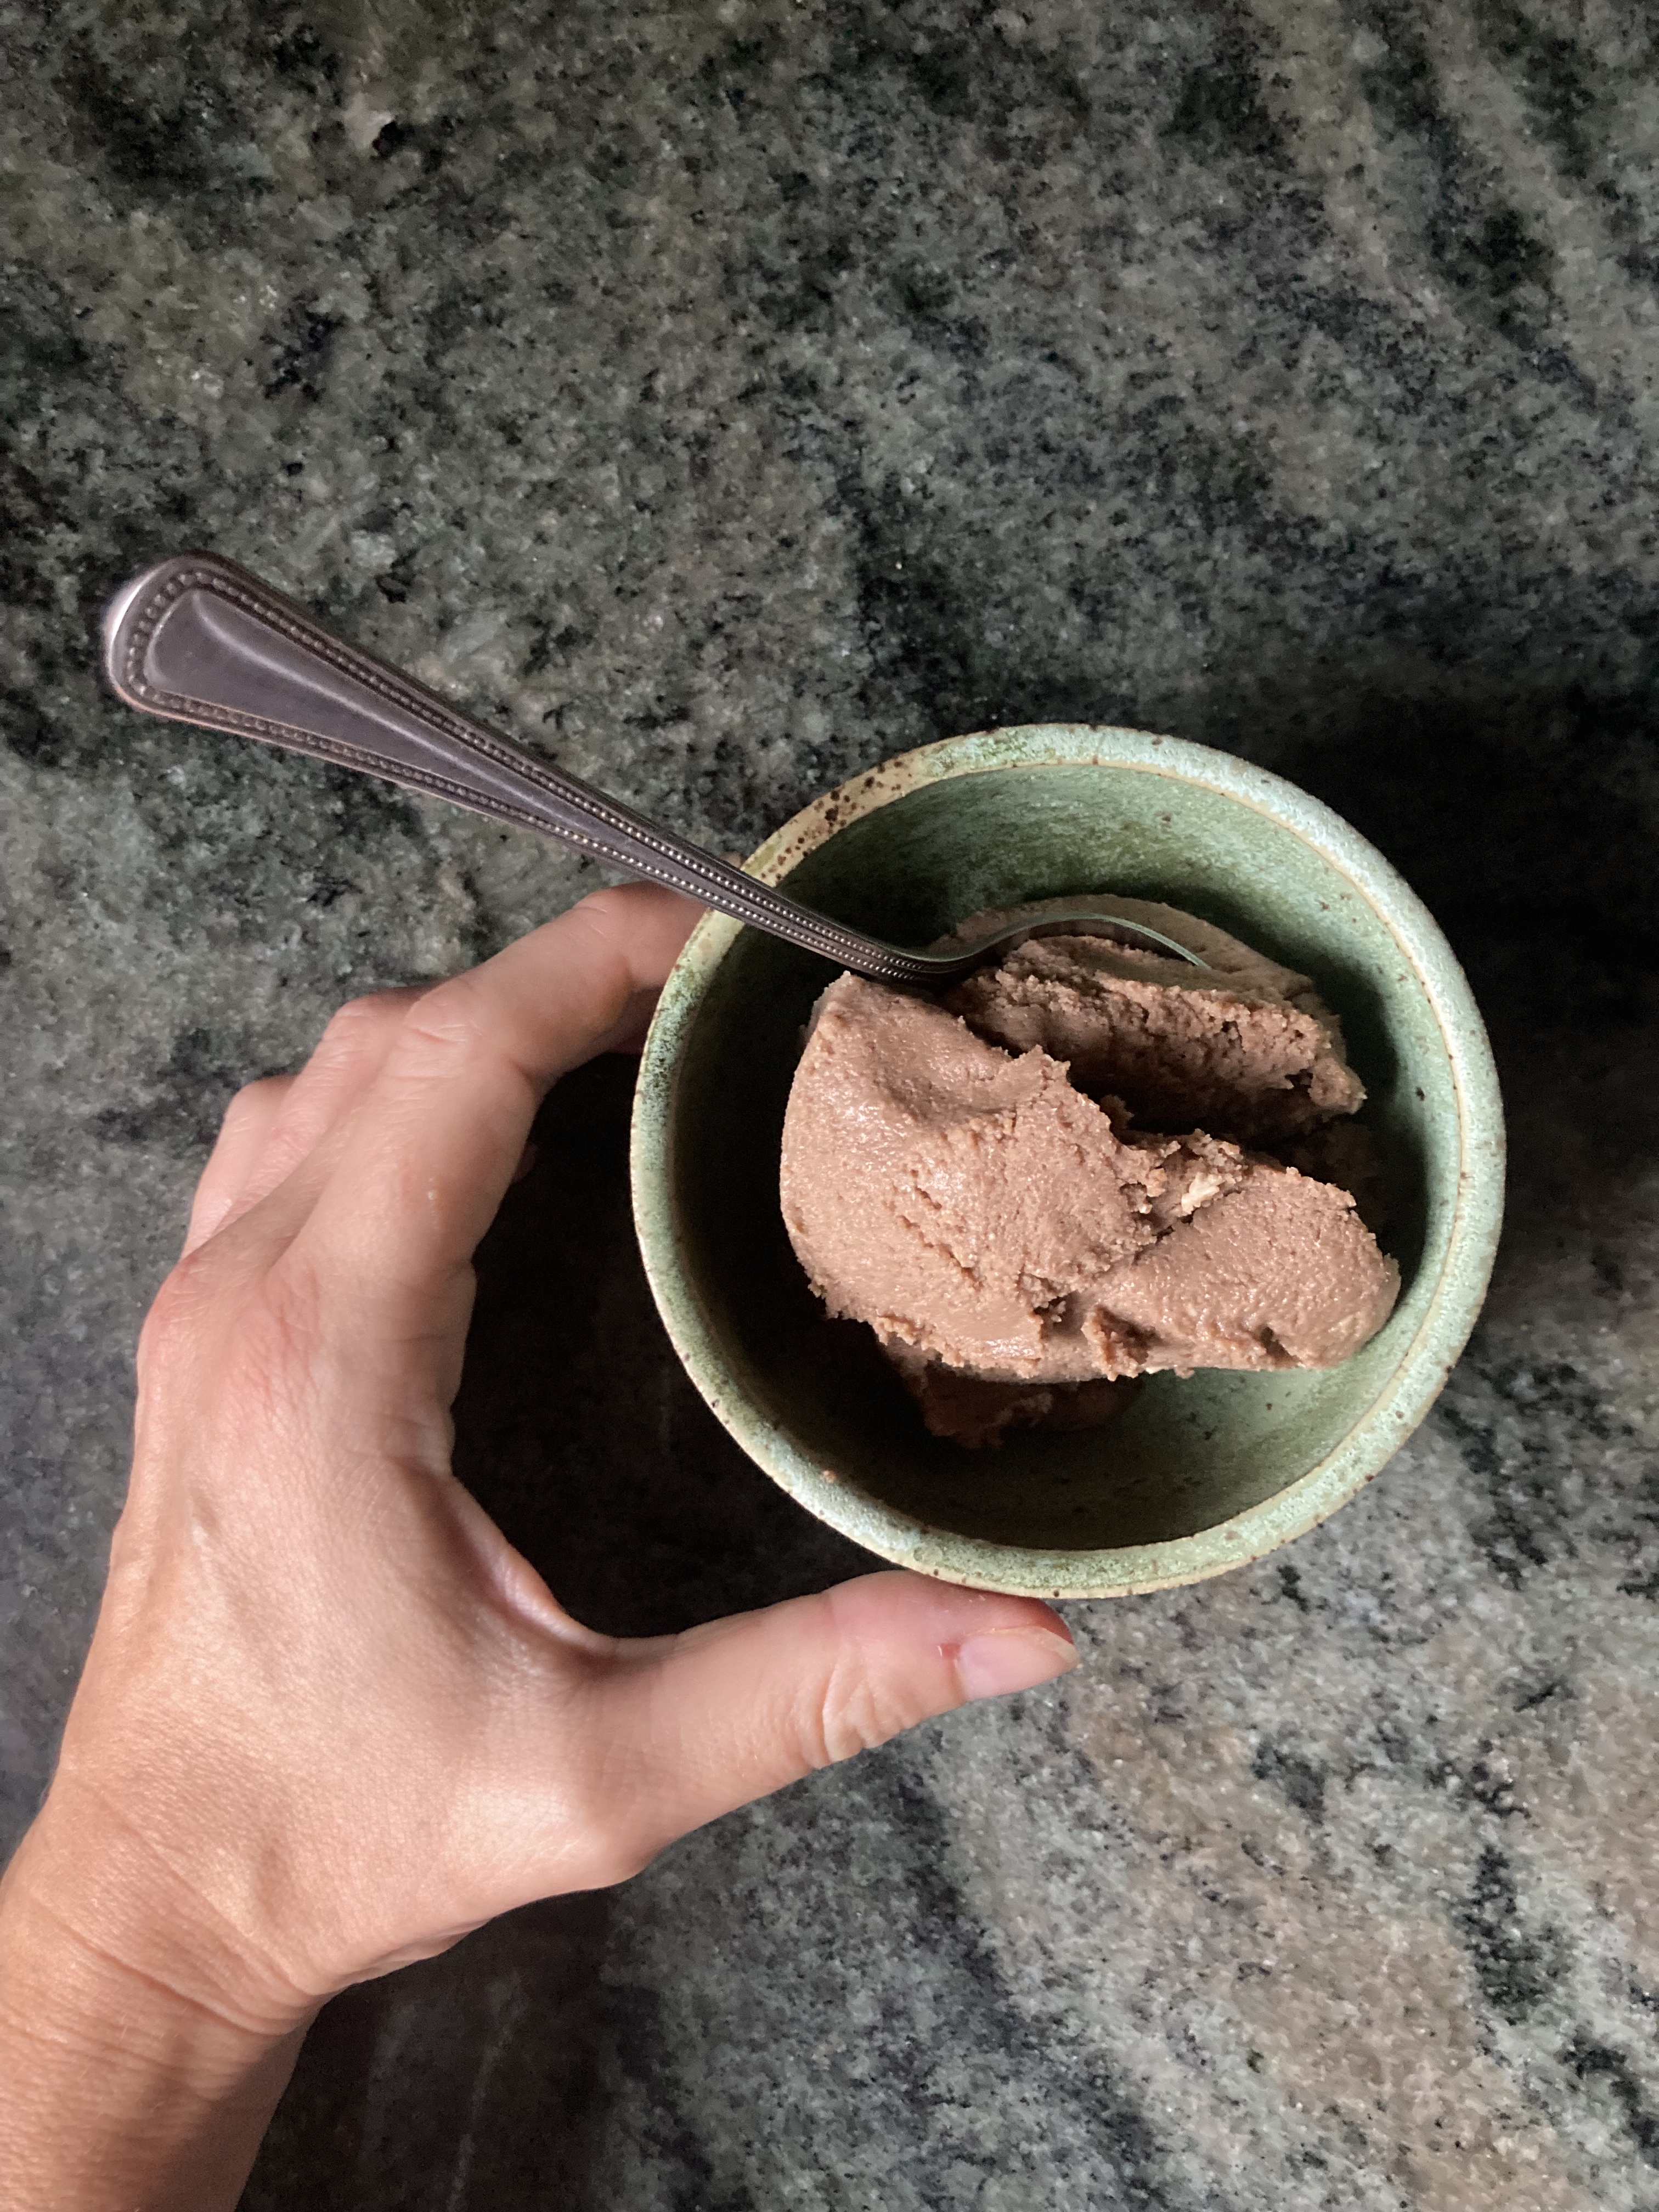
The Results
This hot chocolate is absolutely delicious! The rosewater-scented whipped cream is a divine addition, but the drink was still substantial and well-flavored without it. Combining mace with chocolate creates a unique spicy taste that to me felt very festive and reminded me of the spice flavors in Christmas cakes and cookies. When my students and I prepared this hot chocolate in class, they remarked that the mace, cinnamon, and chocolate combination made the drink taste like a chai drink crossed with a chocolate drink.
In the coming months, I’m looking forward to cooking more from Anna Campbell’s manuscript as my students and I prepare the transcription for publication in Penn State Libraries Digital Collections. I’m also so excited to share my forthcoming book, Shakespeare in the Kitchen, with you in April!


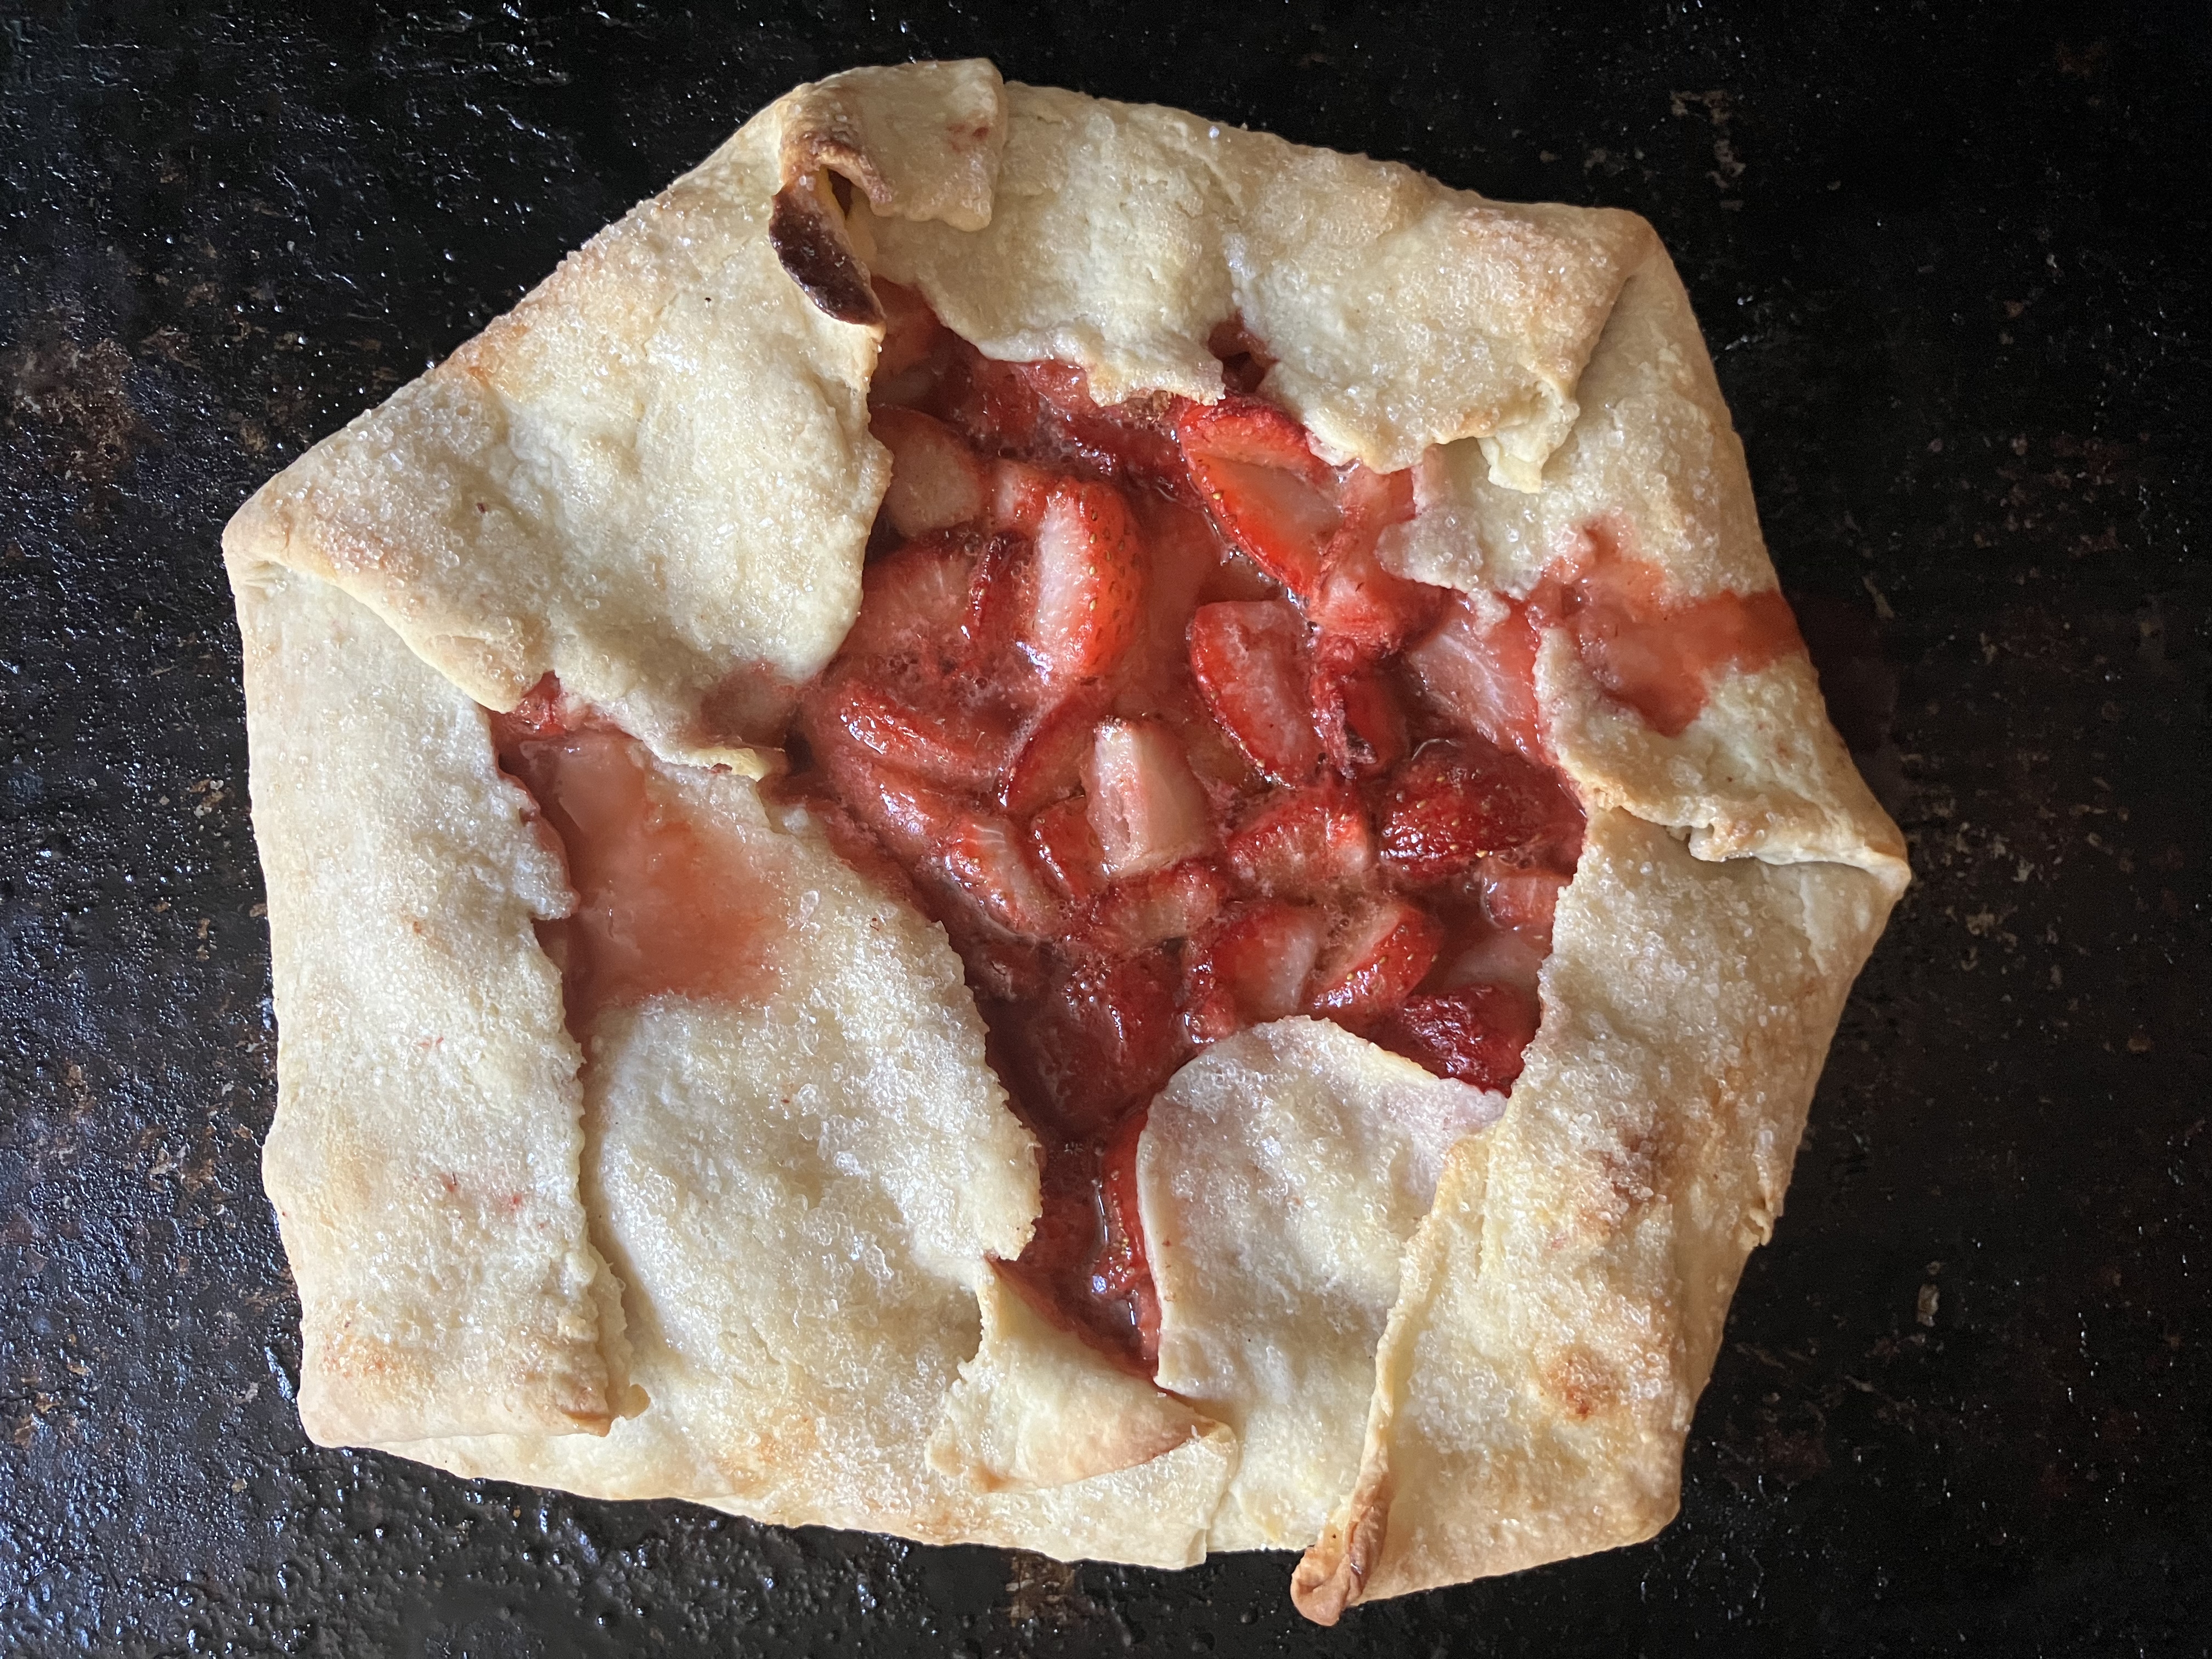
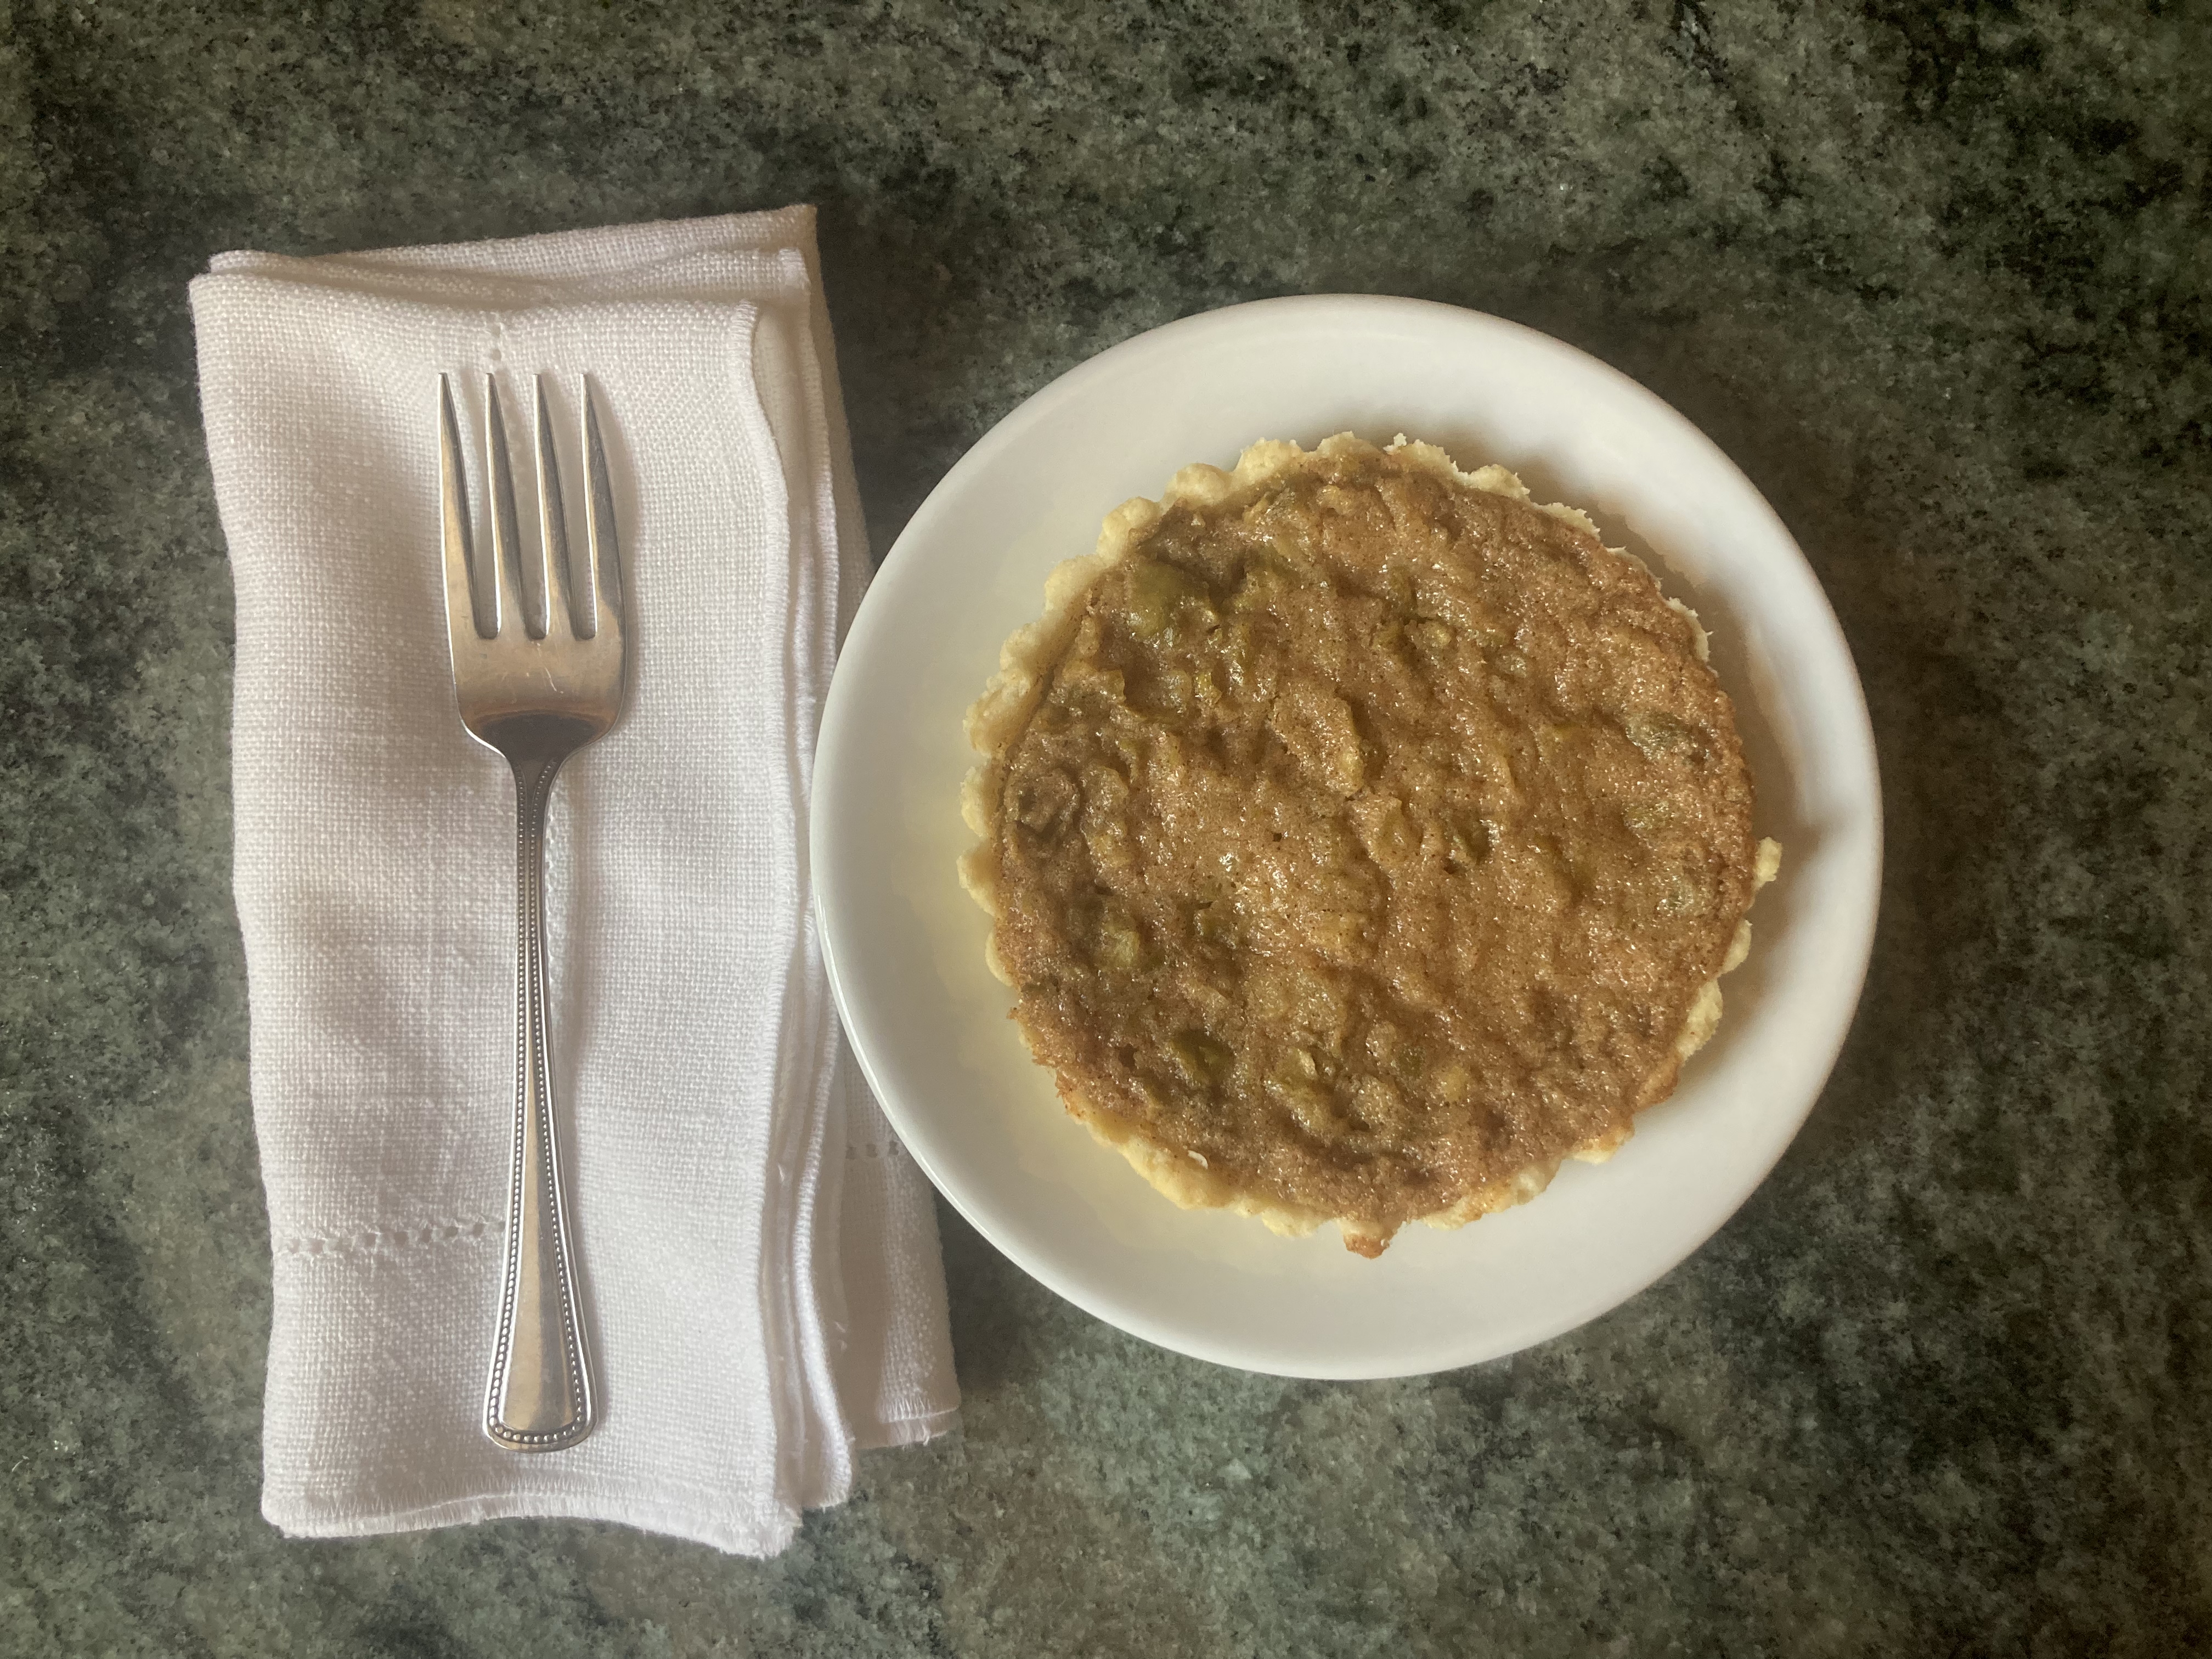
 Tartes of strawberryes


You must be logged in to post a comment.