We wrote a version of this post for the Folger Shakespeare Library’s research blog, The Collation. You can read it here. A special thank you to the Folger and everyone who came out to our Free Folger Friday lecture in December and got a sneak peak at these recipes.


The Folger Shakespeare Library in Washington DC has a wide range of culinary manuscripts, and we’ve barely scratched the surface of their holdings. In October we participated in a Transcribathon sponsored by Early Modern Recipes Online Collective and the Early Modern Manuscripts Online Project. Reading through Rebeckah Winche‘s receipt book, Folger MS V.b.366, we found this recipe for “Chacolet.” As the coordinators of the Transcribation noted, the manuscript has a dated inscription, “Rebeckah Winche 1666,″ that conveniently locates the book in a seventeenth-century English household.
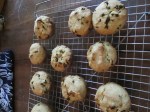
The recipe for “Chacolet” describes the process making hot chocolate from whole cocoa beans. Europeans may have encountered cocoa beans, but many would also have encountered chocolate in processed cakes that resemble the final product of this recipe as Sarah Moss and Alexander Badenoch suggest in Chocolate: A Global History. Moss and Badenoch also remind us that our modern chocolate bars are still more than one hundred years away at the time that this recipe was copied down. Only in the nineteenth century did chocolatiers develop the modern machines and processes, like conching, that utterly transformed this rare bean into smooth, modern chocolate (57, 61). Our friends at The Recipes Project have also written some great posts about chocolate consumption. Amy Tigner has two posts about it here and here, and Amanda E. Herbert describes how she teaches with chocolate here.
The Recipe
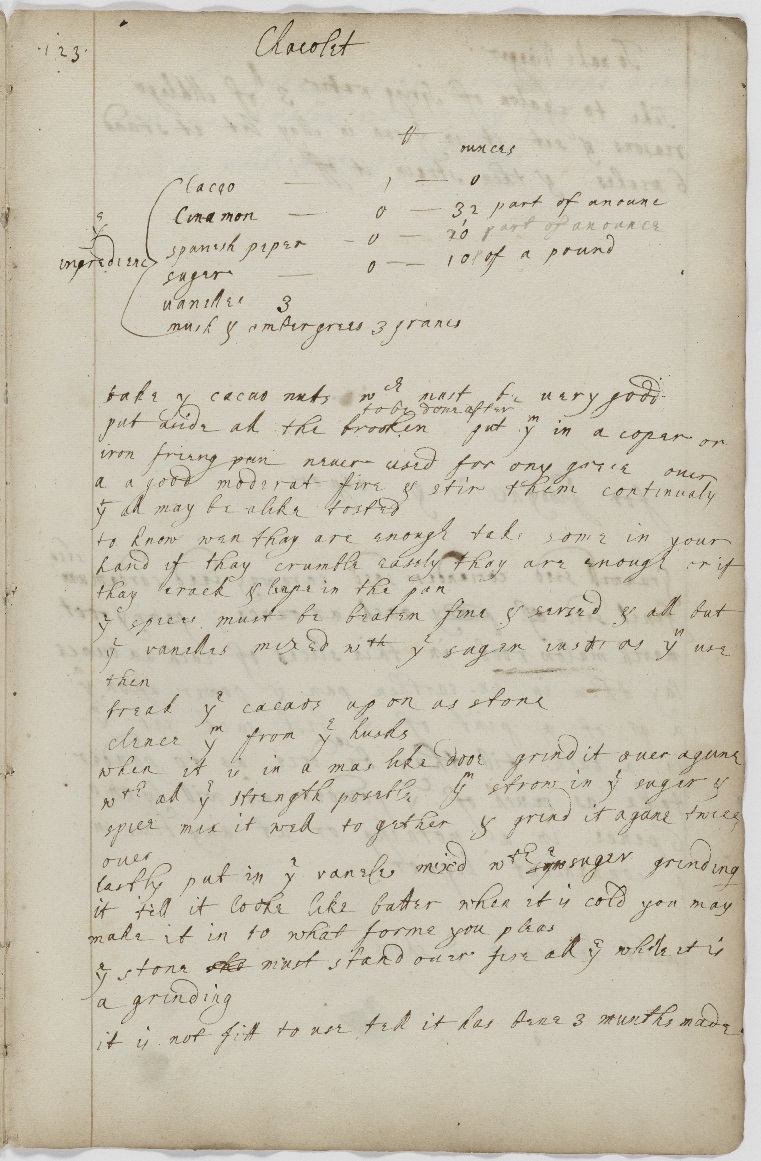 Chacolet
the ingredienc
# ounces
cacao – 1 – 0
cinamon – 0 – 3,2 part of an ounc
spanish peper – o- 20 part of an ounce
sugar – 0 – 10th pf a pound
uanilles 3
musk & ambergrees 3 granes
take th cacao nuts which must be very godd
put aside all the brooken ^(to be done after) put them in a coper or
iron frieng pan neuer used for any pech ouer
a a good moderat fire & stir them continualy
Yt all may be alike tosted
to know wen thay are enough take some in your
hand if thay crumble easily thay are enough or if
thay crack & leape in the pan
the spices must be beaten fine & sevied & all but
the vanelles mixed with the suger iuste as the use
then
break the cacaos upon as stone
clener them from the husks
when it is in a mas like dooe grind it ouer againe
wth all the strength possible then strew in the suger &
spice mix it well to gether & grind it agane twice
ouer
lastly put in the vaneles mix’d wth sye the suger grinding
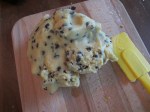
it till it looke like batter when it is cold you mak
make it in to what forme you pleas
the stone must stand ouer fire all the while it is
a grinding
it is not fitt to use till it has bene 3 munths made
One interesting feature of this recipe is that it looks much more like a modern recipe than other recipes in Winche’s book or in the archive of historical recipes we’ve been exploring in general. Most of those are written as narrative paragraphs that combine measurements and instructions. This one looks more like what we’ve come to expect recipes to look like in the twentieth and twenty-first centuries: it begins with a list of ingredients with amounts – cocoa beans, cinnamon, Spanish pepper, sugar, vanilla, musk, and ambergris – and then includes a methods paragraph explaining what to do with these ingredients.
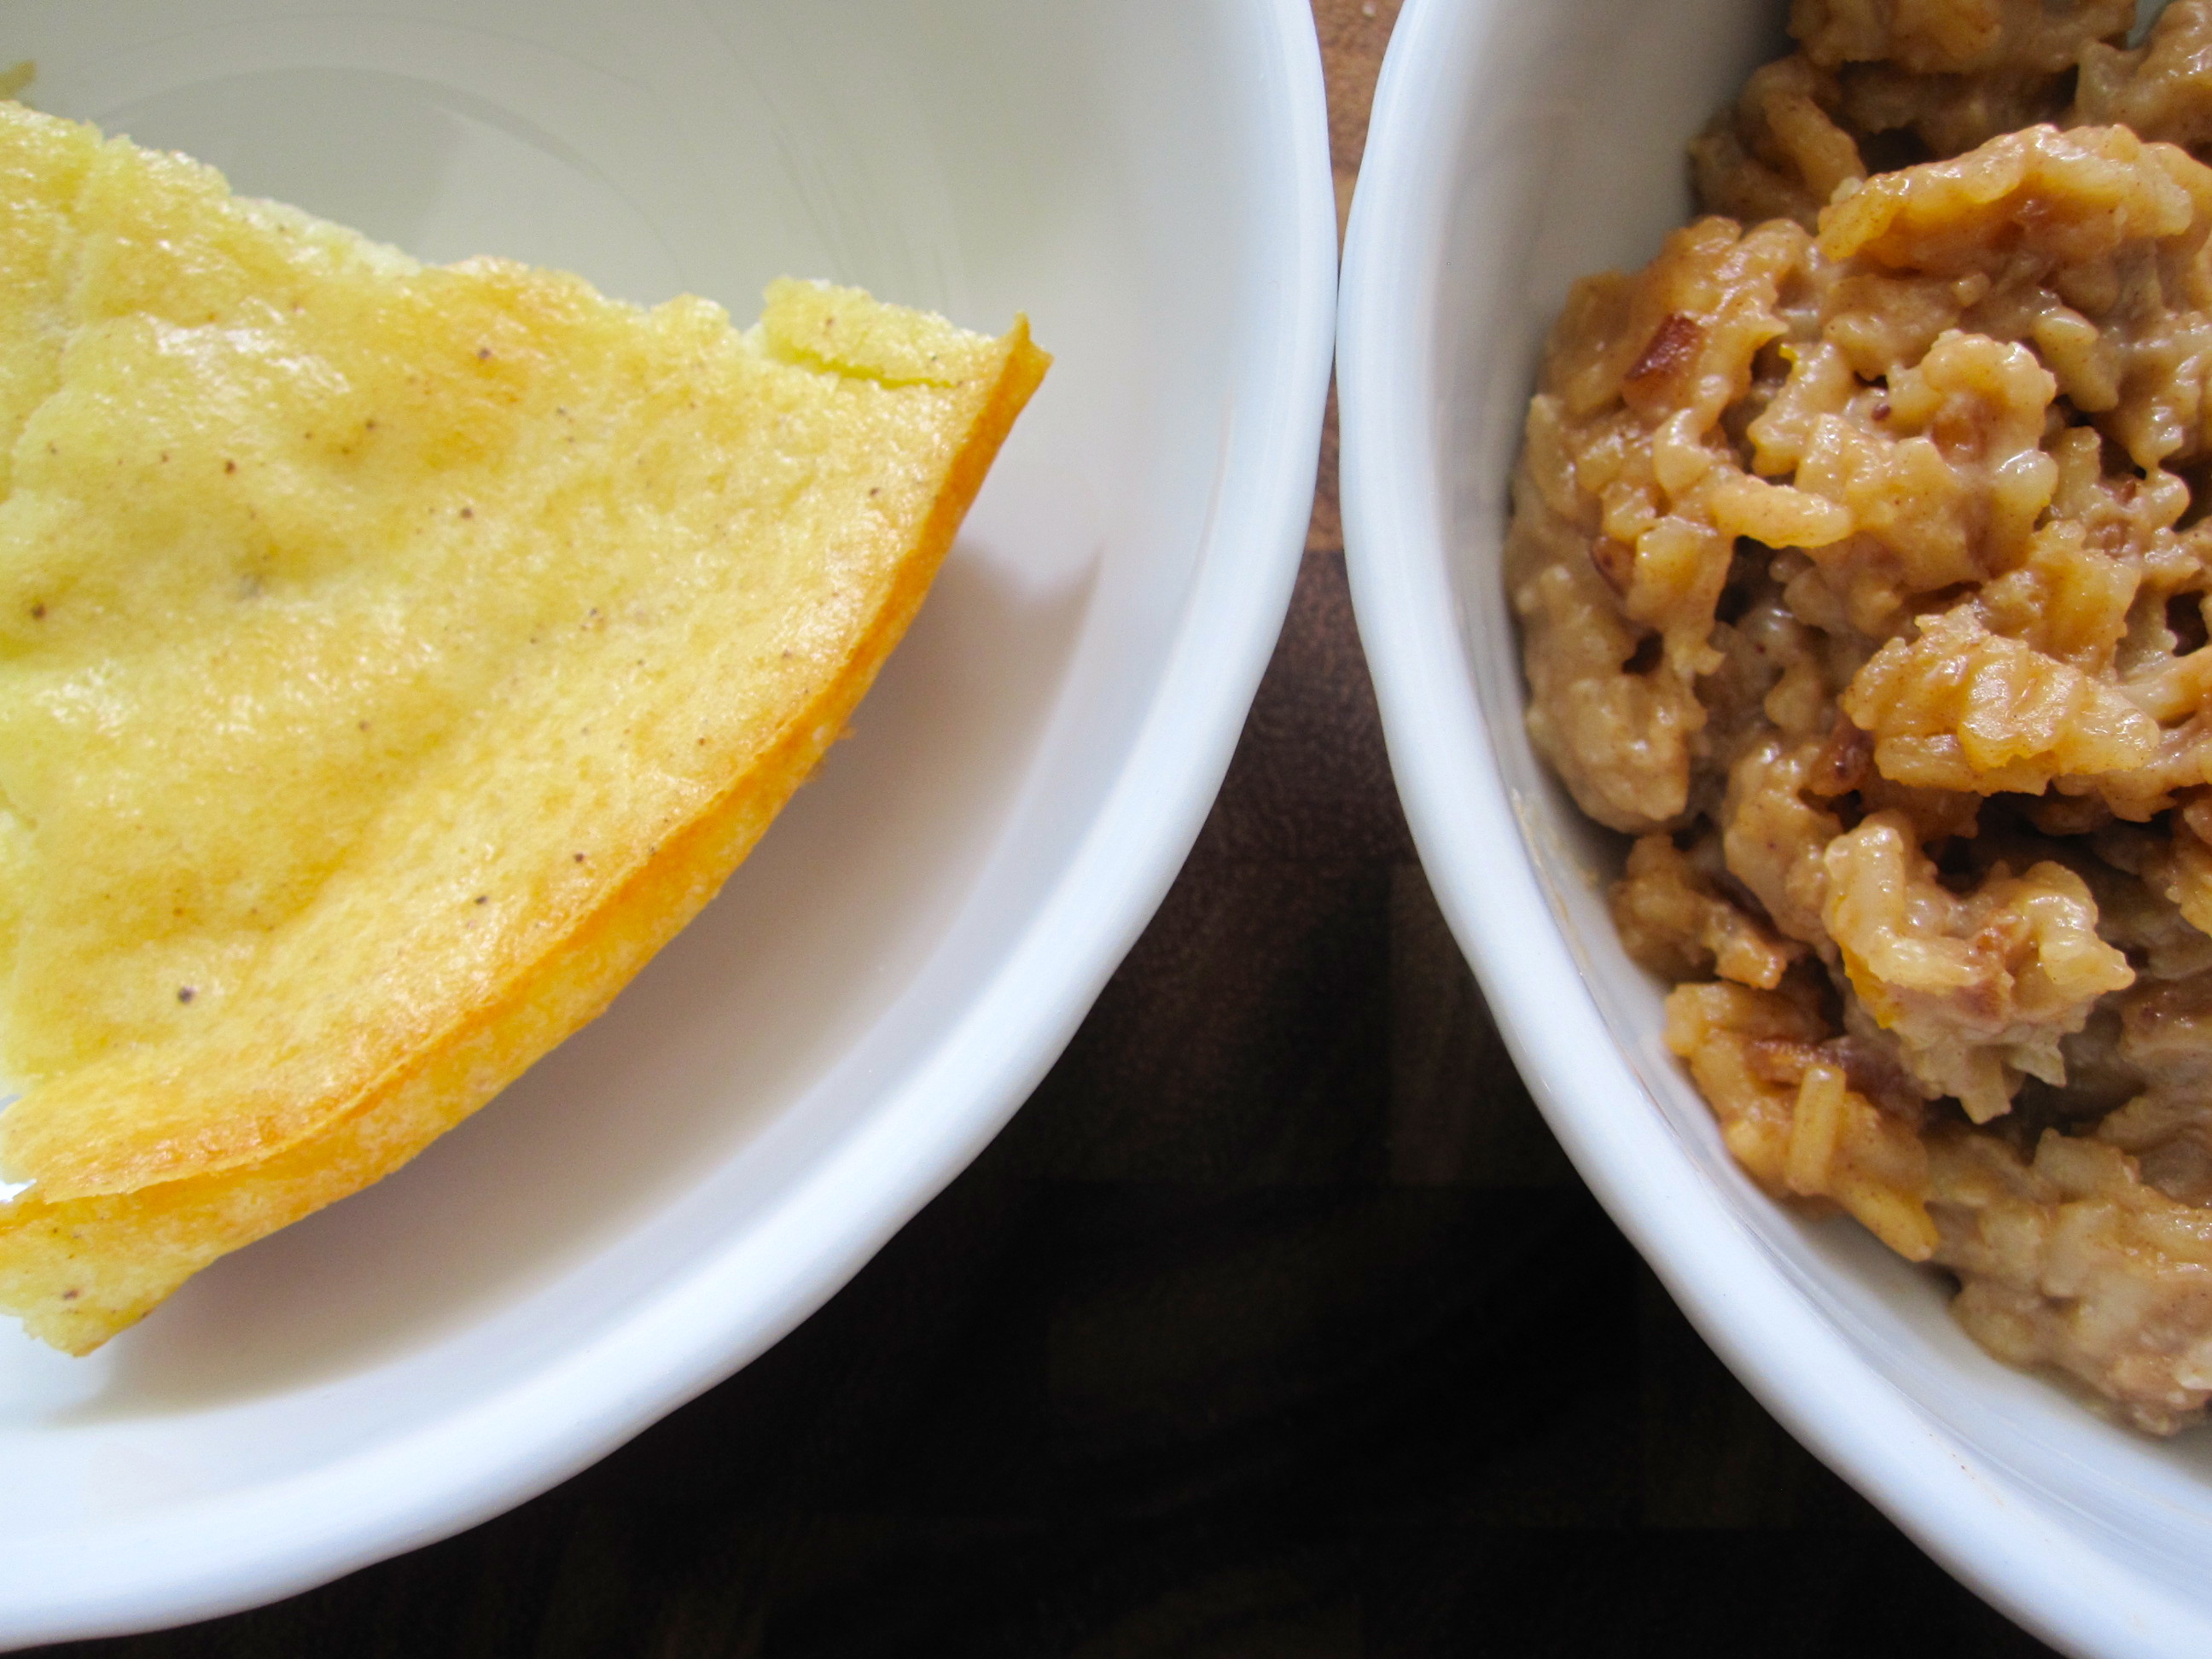
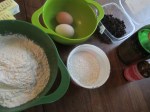
Since the recipe’s formatting and instruction was somewhat familiar, our process of updating focused more on the ingredients. Now, it’s hard to find whole cocoa beans in their husks in a specialty grocery store, let alone a basic supermarket. At a health foods stand in Reading Terminal Market in Philadelphia Alyssa and I found cocoa nibs: dried and chopped pieces of cocoa beans. This form of chocolate is popular with bakers seeking to add crunch to chocolate chip cookies and raw foods enthusiasts looking for alternatives to processed chocolate. By grinding the cocoa nibs first by hand in a molcajete and then in a coffee grinder we often use for spices, I produced a hot cocoa mix with an even consistency. However, I decided to prepare Rebecca Winche’s “chacolet” two different ways: with cocoa nibs to get closer to the original cocoa beans and with cocoa powder, a pantry staple today. I also decided to leave out the rare, funky, and/or glandular musk and ambergris.
Our Recipes


1/3 c cocoa nibs
1 1/2 t cinnamon
1/2 t crushed red pepper flakes
1/2 c sugar
1 t vanilla extract
To make the hot chocolate mix:
Heat the cocoa nibs in a shallow pan for about two minutes. When they begin to look glossy, add the cinnamon and crushed red pepper and stir to combine. Remove from heat.
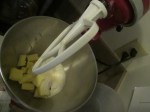
Now it’s time to grind your cocoa nibs and spice mix. We started this process in a molcajete and then transferred the mixture to a coffee grinder that we also use for grinding spices. In the coffee grinder the mixture turned into a solid paste. A dedicated spice grinder or a small food processor would also do the trick.
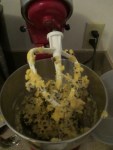
Return the cocoa and spice mix to the pan. Add the sugar and vanilla extract. Stir over a low heat for 2-4 minutes until the sugar is completely integrated and the mixture is uniform in color and texture. Some clumps will form, especially at the bottom of the pan.
Transfer the cooled mixture into a jar and label with the date. Store in a cool, dry, dark place.
To make hot chocolate:
Heat one cup milk over a medium heat until steamy. Add 3 T hot cocoa mix. Whisk over heat for another minute or two until it begins to simmer and mix is completely dissolved. (We owe this part of our instruction to Smitten Kitchen’s recipe for “decadent hot chocolate mix.”)


1/3 c cocoa powder
1 1/2 t cinnamon
1/2 t crushed red pepper flakes
1/2 c sugar
1 t vanilla extract
To make the hot chocolate mix:
Add all the ingredients to a shallow pan. Stir over a low heat for 2-4 minutes until the sugar is completely integrated and the mixture is uniform in color and texture. Some clumps will form, especially at the bottom of the pan.
Transfer the cooled mixture into a jar and label with the date. Store in a cool, dry, dark place.
To make hot chocolate:
Heat one cup milk over a medium heat until steamy. Add 3 T hot cocoa mix. Whisk over heat for another minute or two until it begins to simmer and mix is completely dissolved. (We owe this part of our instruction to Smitten Kitchen’s recipe for “decadent hot chocolate mix.”)


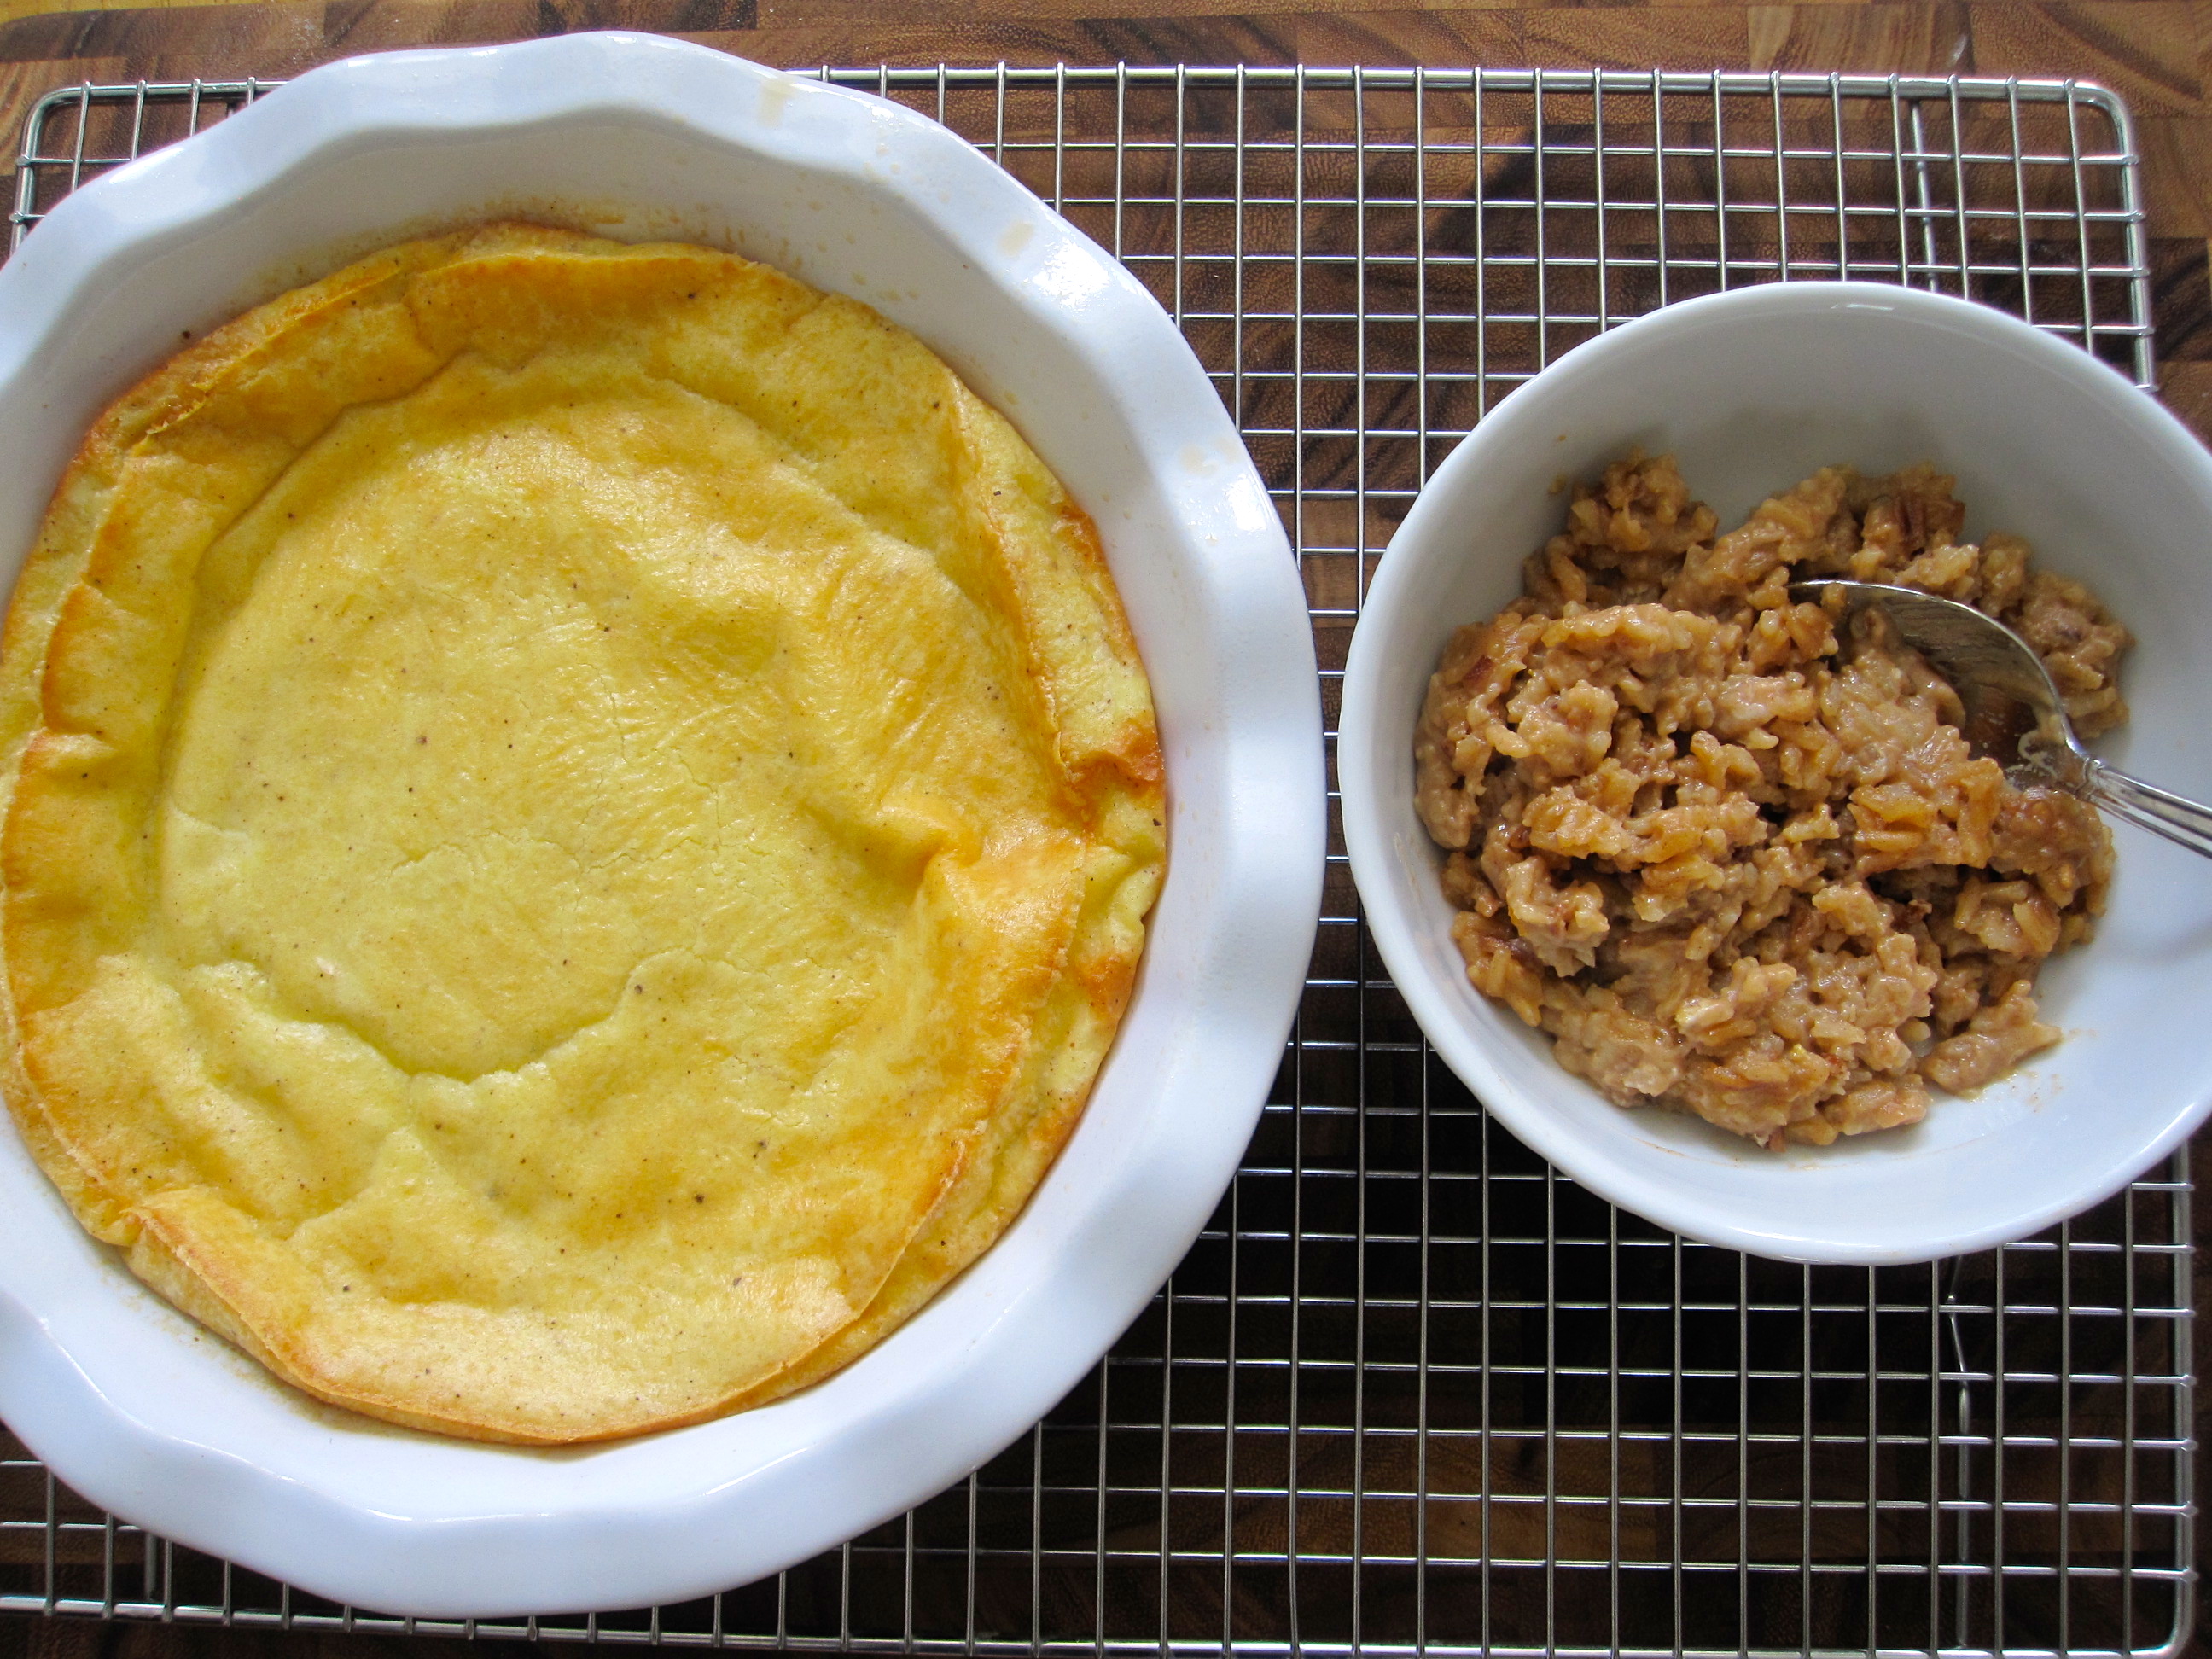
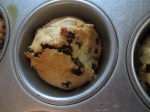
When I tasted the cocoa nibs version I was totally blown away. It was much spicier than I expected and had a nutty, chocolate taste. The oils and larger granules from the cocoa nibs gave the mixture a unique texture. The cocoa powder version had a more concentrated chocolate flavor. Despite the fact that both versions have the same amount of chili flakes, this one was less spicy. The texture was smooth and creamy. I could drink either of these on any cold day!
The original recipe also made a curious suggestion: to wait three months before using the chocolate. Since I still had some of the cocoa nib mix in my cupboard a month after I first tested the recipe, I decided to test this point. The flavors had deepened and mellowed. The chocolate flavor in this cup of cocoa was deep and, in the whole, less spicy than the bath I made fresh. Feel free to store your hot cocoa mixes in a jar or plastic container in a cupboard for use throughout the winter and spring. Let us know if it changes over time!
By making this recipe two ways I was first and foremost negotiating the realities of a modern kitchen – it’s a lot easier to take cocoa powder, that marvel of modern chocolate processing, down from the pantry shelf than to cocoa beans or even cocoa nibs. But despite the different starting points, the side-by-side taste testing of the two versions showed remarkable similarities– the mix of chocolate and warming spices is the real flavor-profile of the recipe and that remained consistent. When Alyssa and I cook in historical archives we’re often confronted by the possibilities and limits of how much of the past we can taste. Accessing these recipes gives us the opportunity to try dishes that early modern cooks tried centuries ago – not just to read about them, but to make them and savor them. We cannot duplicate their exact taste profile, but we can approximate it and do so in ways that make sense for our own modern kitchens.


You must be logged in to post a comment.